Hello!
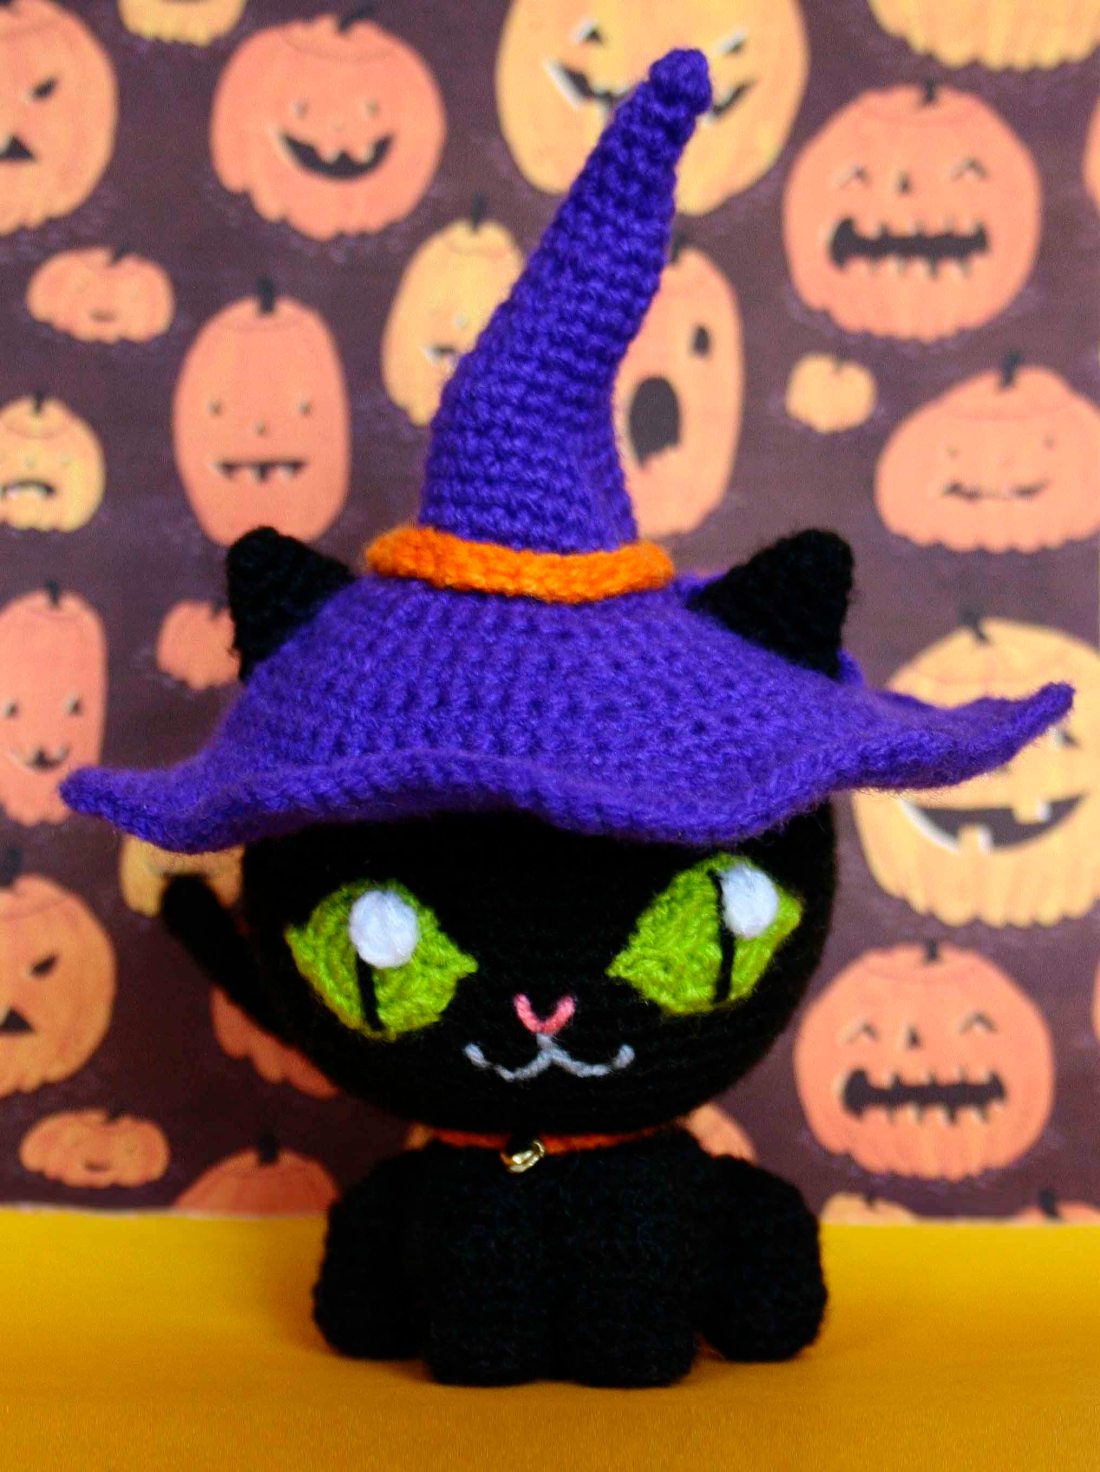
Welcome to my zombie blog, coming back to life just for Halloween… Halloween is one of my fav holidays! (I say the same about all holidays but it’s true!), all things no longer alive get their recognition, and black cats.
Since I’m a huge fan of cats, and I used to be into witchcraft, and the figure of a Witch is just a powerful woman’s caricature made by a scared man, I felt inspired to make my own witch cat! I hope you enjoy making her as much as I did while designing her. Have fun, be powerful and scary for the cowards!
For this pattern you’ll need:
*Black yarn for Cherny
*Purple yarn fot the hat
*Orange yarn for the collar and hat band
*Green yarn fot the eyes
*White yarn for the eye shine
*Pink and grey for the face
*Or whatever colors you want to use!*
*3.50mm hook
*2.00mm hook
*Neddle
*Scissors
*Filling
*1 sleigh bell
Cherny, the Witch Cat:
Head and body
1.- 6 sc into magic circle
2.- 12 (6inc)
3.- 18 (*sc inc* 6 times)
4.- 24 (*2sc inc* 6 times)
5.- 30 (*3sc inc* 6 times)
6.- 36 (*4sc inc* 6 times)
7.- 42 (*5sc inc* 6 times)
8.- 48 (*6sc inc* 6 times)
9.- 54 (*7sc inc* 6 times)
10.- 60 (*8sc inc* 6 times)
11.- 60 (sc around)
12-21.- Repeat round 11
22.- 54 (*8sc dec* 6 times)
23.- 48 (*7sc dec* 6 times)
24.- 42 (*6sc dec* 6 times)
25.- 36 (*5sc dec* 6 times)
26.- 30 (*4sc dec* 6 times)
27.- 24 (*3sc dec* 6 times)
28.- 12 (dec 12 times)
29.- 24 (inc 12 times)
30.- 30 (*3sc inc* 6 times)
31.- 36 (*4sc inc* 6 times)
32.- 36 (sc around)
33-37.- Repeat round 32
38.- 30 (*4sc dec* 6 times)
39.- 20 (*sc dec* 10 times)
40.- 10 (dec 10 times)
41.- 5 (dec 5 times) FO.

Ears. Make 2
1.- 3 sc into magic circle
2.- 5 (inc sc inc)
3.- 7 (inc 3sc inc)
4.- 9 (inc 5sc inc)
5.- 11 (inc 7sc inc)
6.- 13 (inc 9sc inc)
7.- 15 (inc 11sc inc) FO. Leave a long tail for sewing.

Front legs. Make 2
1.- 6 sc into magic circle
2.- 12 (6inc)
3.- 12 (sc back loop only)
4.- 12 (sc around)
5.- 8 (4dec 4sc)
6.- 8 (4inc ch1 and turn)
7.- 8 (8sc ch1 turn)
8.- 6 (dec 4sc dec ch1 turn)
9.- 4 (dec 2sc dec ch1 turn)
10.- 2 (dec 2 times) FO. Leave a long tail for sewing.
 Front and side view.
Back legs. Make 2
1.- 6 sc into magic circle
2.- 12 (6inc)
3.- 12 (sc back loop only)
4.- 12 (sc around)
5.- 8 (4dec 4sc)
6.- 16 (inc 8 times)
7.- 16 (sc around)
8.- 8 (dec 8 times)
9.- 4 (dec 4 times) FO. Leave a long tail for sewing.

Tail
1.- 4 sc into magic circle
2.- 4 (sc around)
3-30.- Repeat round 2. FO. Leave a long tail for sewing.
Eyes. Make 2 using a 2.00 mm hook.
1.- 5 sc into magic circle
2.- 10 (5inc)
3.- 19 (ch2 turn and sc on second ch from hook, inc, sc, inc, ch2 turn and sc on second ch from hook, inc, *sc inc* 2 times. FO. Leave a long tail for sewing.
*with black yarn make the pupil*


Eye shine. Make 2 using a 2.00 mm hook.
1.- 4 sc into magic circle
Collar (2.00 mm hook)
1.- ch 30 (you can put a sleigh bell if you want, I did!)
Hat
1.- 4 sc into magic circle
2.- 4 (sc around)
3.- 5 (3sc inc)
4.- 6 (4sc inc)
5.- 7 (5sc inc)
6.- 8 (6sc inc)
7.- 9 (7sc inc)
8.- 10 (8sc inc)
9.- 11 (9sc inc)
10.- 12 (10sc inc)
11.- 13 (11sc inc)
12.- 14 (12sc inc)
13.- 15 (13sc inc)
14.- 16 (14sc inc)
15.- 17 (15sc inc)
16.- 18 (16sc inc)
17.- 20 (*8sc inc* 2 times)
18.- 22 (*9sc inc* 2 times)
19.- 24 (*10sc inc* 2 times)
20.- 26 (*11sc inc* 2 times)
21.- 28 (*12sc inc* 2 times)
22.- 30 (*13sc inc* 2 times)
23.- 32 (*14sc inc* 2 times)
24.- ch 20 and join with a slst to second st from origing of the chain

Working only on front loops *3sc inc* 3 times, sc – ch 20 and join with a slst to second st from origing of the chain – Working only front loops inc, *3sc inc* 3 times

It should look like this.
25.- slst onto next ch. Turn, skip the first st, sc around (17sts), skip the last st, 2slst on ch, turn

26.- Start working on 3° st from hook – *4sc inc* 3 times, 2sc. 2slst on ch, turn

27.- Start working on 3° st from hook – sc around (20 sts). 2slst on ch, turn
28.- Start working on 3° st from hook – *5sc inc* 3 times, 2sc. 2slst on ch, turn
29.- Start working on 3° st from hook – sc around (23 sts). 2slst on ch, turn
30.- Start working on 3° st from hook – *6sc inc* 3 times, 2sc. 2slst on ch, turn
31.- Start working on 3° st from hook – sc around (26 sts). 2slst on ch, turndesde
32.- Start working on 3° st from hook – *7sc inc* 3 times, 2sc. 2slst on ch, FO.

* Join Yarn on the other side of the hat on the first ch, turn*
33.- sc around (16 sts) – 2slst on ch, turn
34.- Start working on 3° st from hook – *4sc inc* 3 times, sc. 2slst on ch, turn
35.- Start working on 3° st from hook – sc around (19 sts). 2slst on ch, turn
36.- Start working on 3° st from hook – *5sc inc* 3 times, sc. 2slst on ch, turn
37.- Start working on 3° st from hook – sc around (22 sts). 2slst on ch, turn
38.- Start working on 3° st from hook – *6sc inc* 3 times, sc. 2slst on ch, turn
39.- Start working on 3° st from hook – sc around (25 sts). 2slst on ch, turn
40.- Start working on 3° st from hook – *7sc inc* 3 times, sc. 1slst on ch, do not turn
* By now you should have a total of 65 sts considering both sides and the free chs and. Youll work on the hat as one piece again*
41.- 70 (*12sc inc* 5 times)
42.- 80 (*6sc inc* 10 times)
43.- 90 (*7sc inc* 10 times)
44.- 100 (*8sc inc* 10 times)
45.- 110 (*9sc inc* 10 times)
46.- 120 (*10sc inc* 10 times) FO. Weave in tail, and all ends needed.
*Your hat should have two holes, those are for the ears*


Hat band
1.- Ch 33, turn
2.- Start working on second ch from hook, 32slst. FO. Leave a long tail for sweing.
Assembly
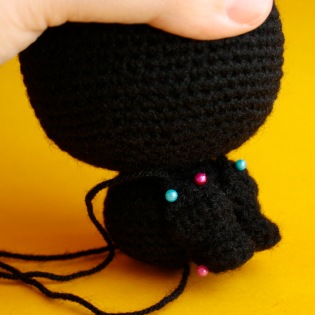
First position the ears on the head with pins, between rounds 5 and 10 of head, leave 12sts between the ears. Sew.


Position the front legs with pins on the front of the body (think of a real cal sitting). The ideal is for the sole of both legs to be even, that way your witch cat would stand more easily. Sew.


Now sew the back legs, remeber to leave the soles as even as possible. Sew the tail in the back.


Sew the eyes between rounds 14 and 19 of head, leaving 4sts between them (considering the closest part around the middle). Sew the collar too. Sew the eye shine wherever you want, this will give your cat personallity.

Sew the hat band to the hat.

Embroider the face and you are ready to start your witchcrafts!