 I love to make small mixed media sculptures of birds, fish, and animals. Over the years I’ve continued to evolve my process as I learn more about creating better armatures, more effective ways to build up the bulk of the figure, and as I experiment with different methods and materials for covering the armature and creating the surface of the sculpture. I love to make small mixed media sculptures of birds, fish, and animals. Over the years I’ve continued to evolve my process as I learn more about creating better armatures, more effective ways to build up the bulk of the figure, and as I experiment with different methods and materials for covering the armature and creating the surface of the sculpture.My original experiments involved using a stencil as a template for the base of the armature. In this tutorial I’ve taken the same concept and used a foam stamp instead. I used the Bird Foam Stamp & Stencil set by Nathalie Kalbach for Stampendous. This particular set is no longer available, but any foam (or even rubber!) stamp with a distinct outline / silhouette should work. |
|
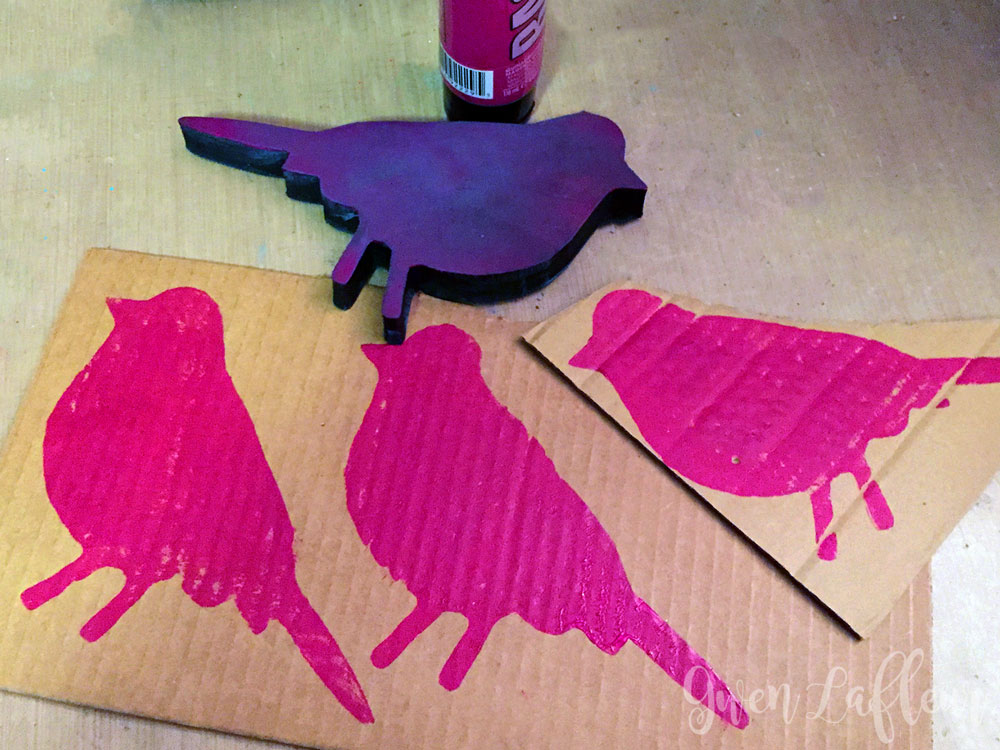
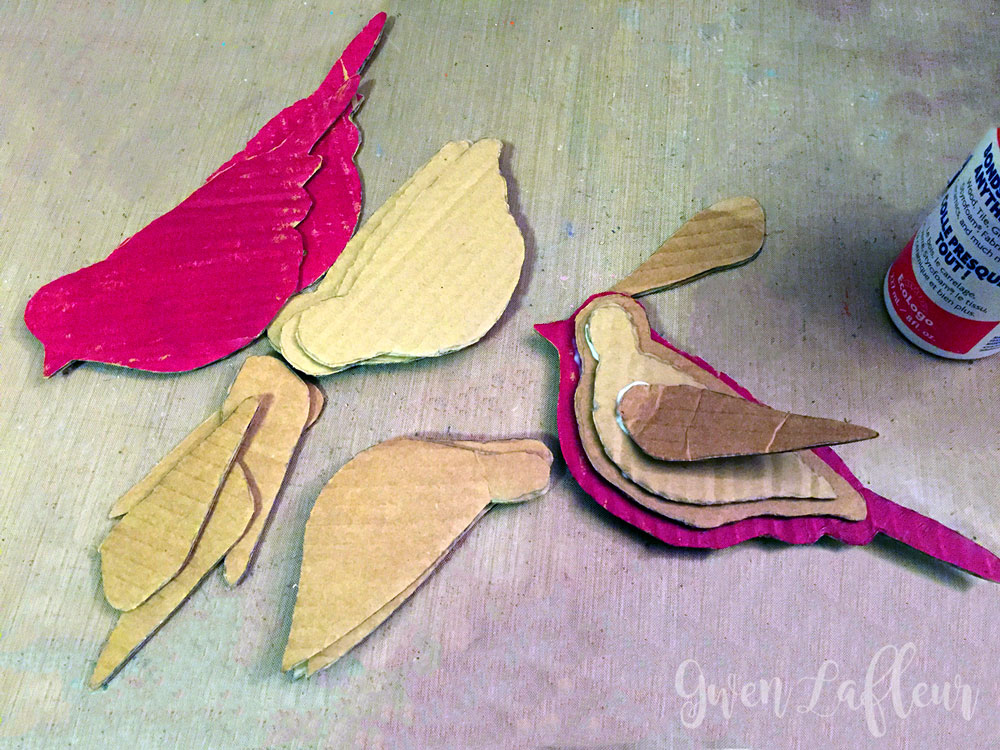
I cut out my three bird shapes and then used them as a pattern to build out the armature with more cardboard. To do that I traced the original stamped image on another piece of cardboard then drew a smaller outline about 1/4″ in from the edge. I cut out two of that piece and continued to trace and reduce (cutting two each time) until I had as many pieces as I wanted. After I’d cut out all of my pieces, I glued each layer in place – I used Weldbond, but any white glue should work fine. Keep in mind that the cardboard will compress as you add the final surface, so the sculpture will be thinner than it looks when you first create the armature. I decided to keep these birds quite thin, so I only added two extra layers on either side of the base.
You can also see where I drew and cut out wing shapes since I was taking the 2D image and making it 3D and I wanted my sculptures to have wings.
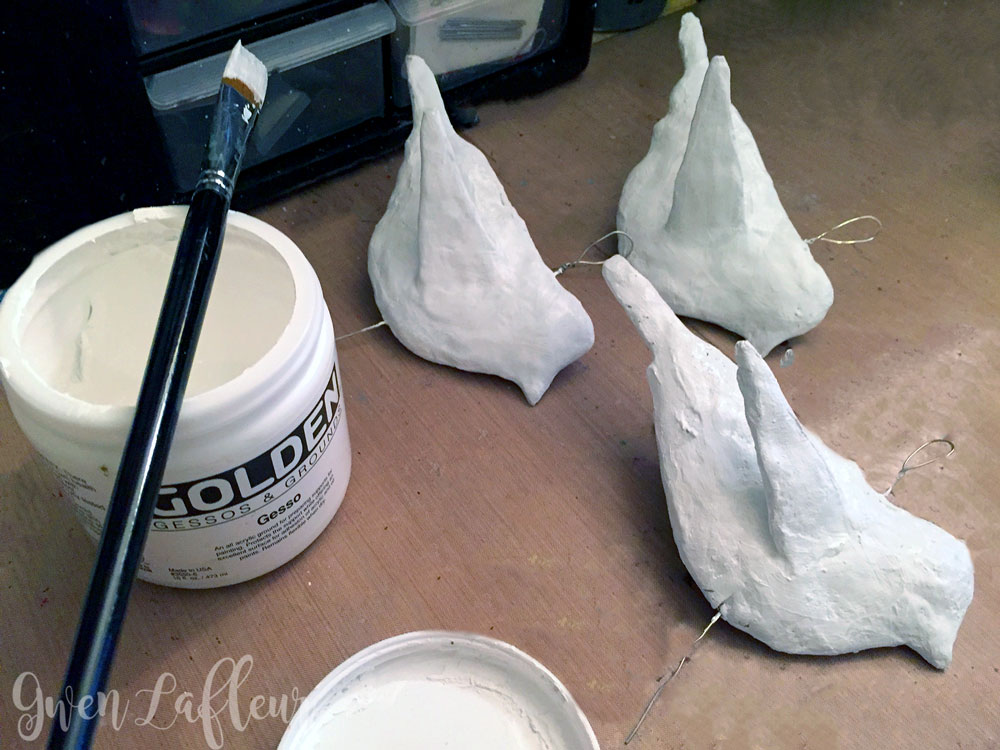
I didn’t get a photo of the next step, but after the armature was complete I wrapped the cardboard bird with masking tape, then coated the whole thing with a light-weight epoxy clay. (If you use an epoxy clay, you’ll want to measure and mix the two parts according to the instructions. It’s usually 50/50 of the two parts. You could also use paper clay and allow for drying time as noted below.) I like to keep the clay to about 1/8″ thickness – I use water to thin and smooth it as I apply. For larger pieces, you’ll want to work in batches so that the clay doesn’t start to cure or dry before you’ve got it the way you want it.
This step does take some time – I‘ve learned through experience that the best way to do it without making a huge mess is to coat one side of the bird, let it cure (or dry if using paper clay) for 3+ hours until the lay is hard and no longer water soluble, then go back and do the other side of the bird and let that cure.
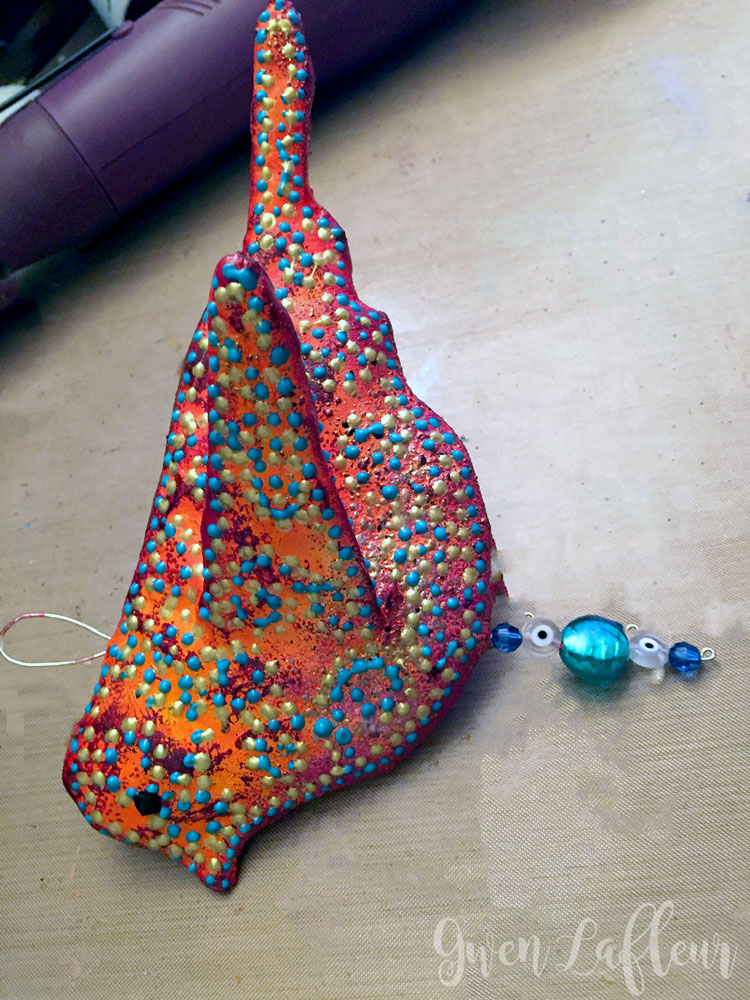
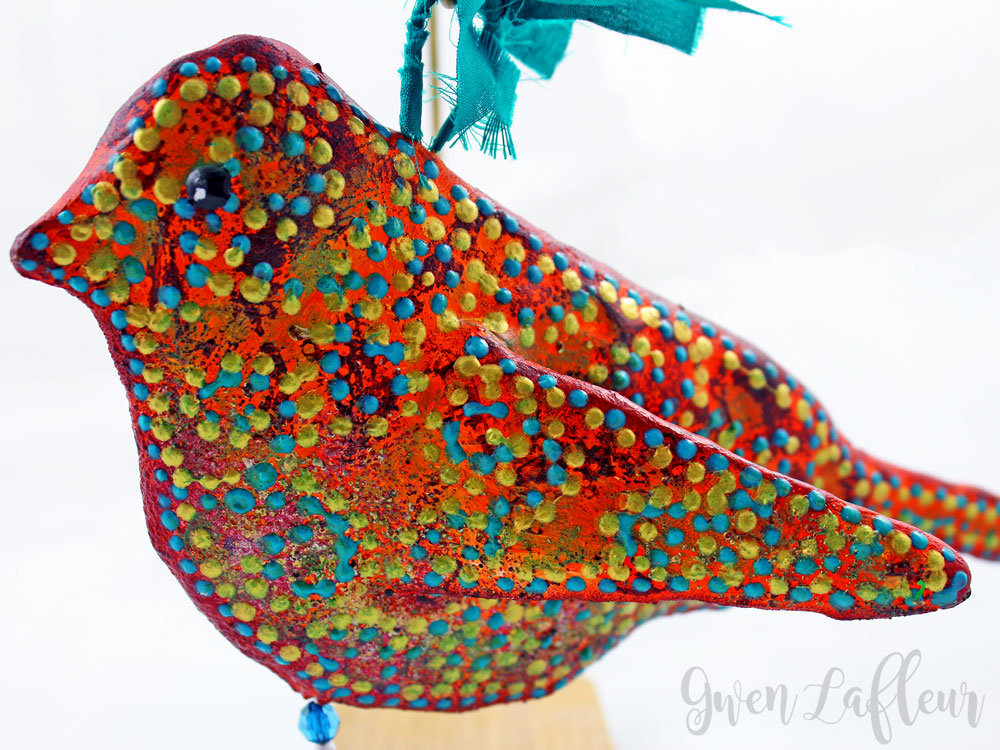
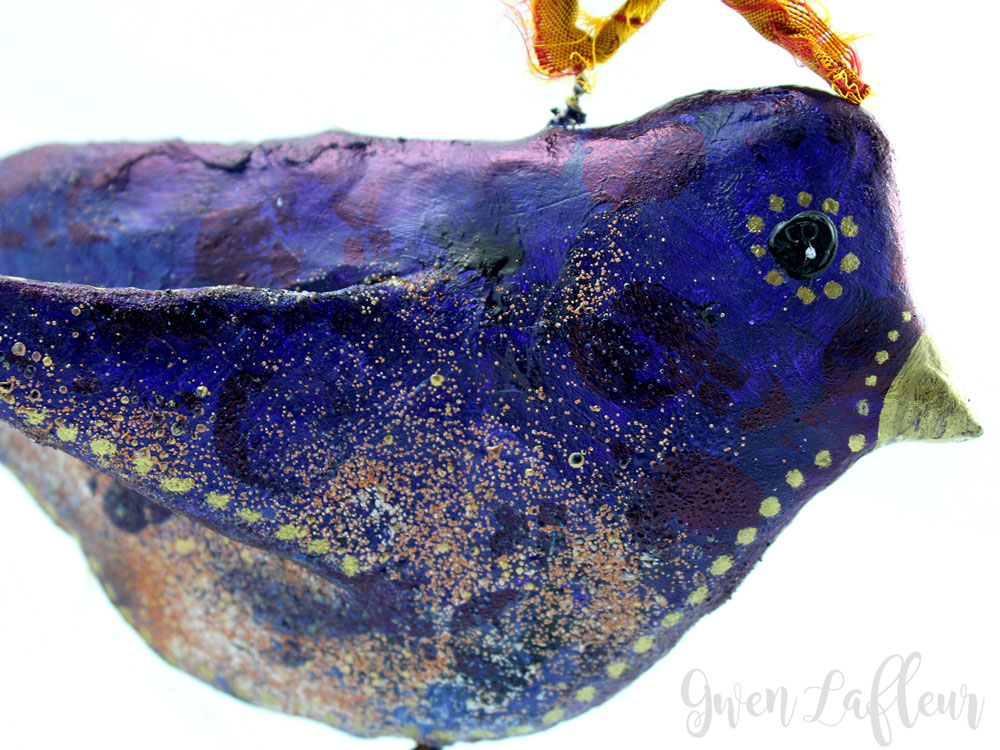
I knew that I wanted the birds to be able to hang when they were done so I also put a piece of wire through the middle of each bird while the clay was wet. Once the clay was completely cured and dry and hard to the touch I added a coat of gesso to prep the surface for painting.