Video – Galeri is a blg web site that have DIY videos
DIY Crochet, we love DIY and Crochet hand works
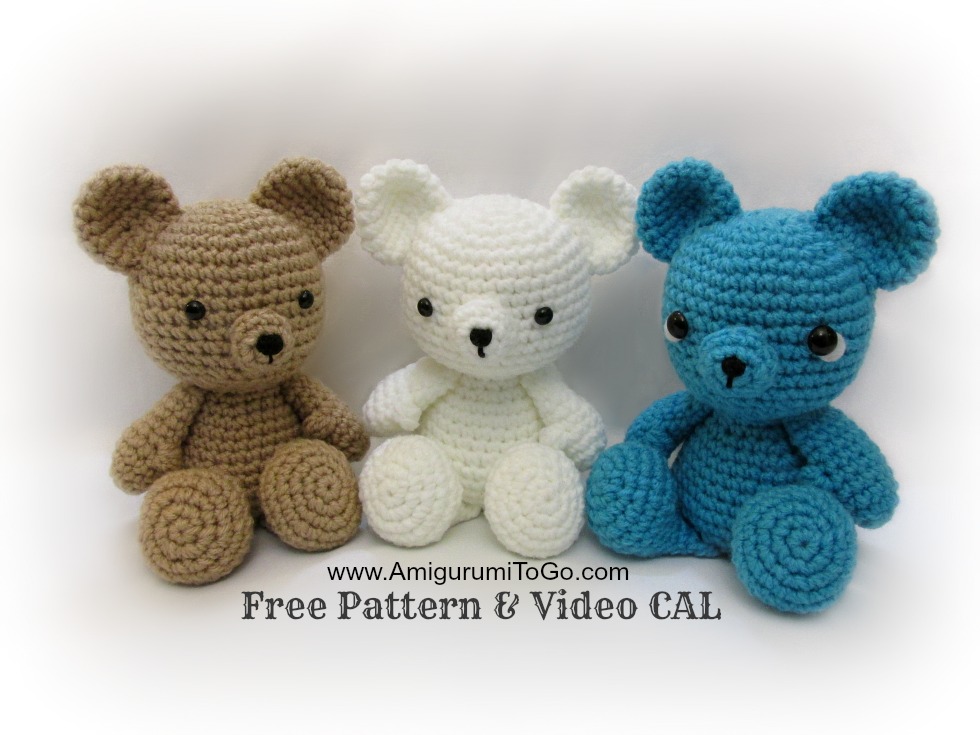
Bear Size,
This bear is approximately 6-8 inches tall in a sitting position depending what on yarn weight and hook size.
Video tutorial,
I have a video that starts at the beginning and goes row by row. It’s a slow, for the absolute beginner, video. It’s also an older video that I wish I could replace. Please keep in mind you can use the fast forward to skip over any parts you don’t need. View the video here
Modifications available,
To make a Remembrance Day bear which has a vest helmet and a poppy pattern go here
Turn this bear into an Angel by adding wings and a halo. Patterns here
Translations,
Danish translated by Christina Stjernholm here
Hungarian translation by Eni Anyu here
Supplies:
Use any yarn weight with the appropriate hook size
I used less than 364 yards of Red Heart Comfort Yarn
4.0 mm hook. Use a smaller hook if you see gaps in your stitches
blunt end yarn needle for sewing
scissors
polyester stuffing
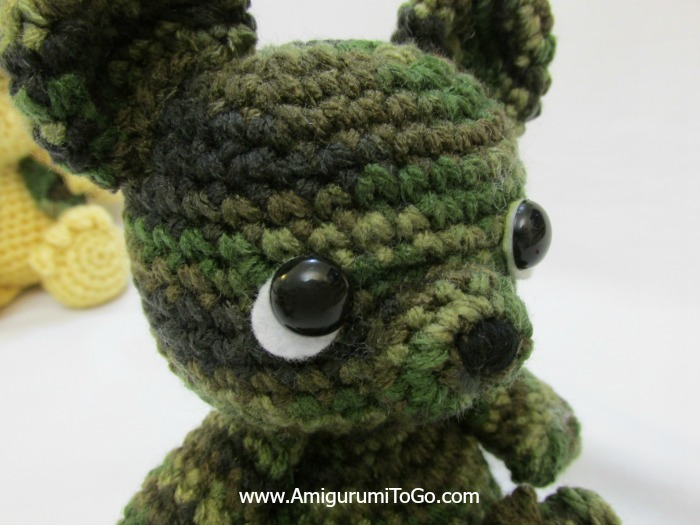
Optional: felt for behind the eyes
you can use buttons, french knot or paint eyes on. I used 7.5mm and also 10mm safety eyes for the bears pictured.
Abbreviations:
st = stitch
sc = single crochet
2tog = crochet 2 stitches together
sl st= slip stitch
f/o = finish off
dc = double crochet (used only for toes and thumbs and is optional)
Magic ring:
Many parts of this amigurumi begin with a magic ring. I have 2 short video tutorials that will show you 2 different methods of making a magic ring. Use the one that is
easiest for you. View 1st method here and 2nd method here.
How to read the rows:
Add a maker at the end of row 2 and move that marker each time you finish a row. Each row has a sequence. Example: 1sc then 2sc in next st means repeat that sequence 1sc then 2sc in next st followed by 1sc then 2sc in next st over and over to the end of that row. When you land on the marker you should be putting in 2sc. The number inside the parentheses ( ~ ) is the number of stitches you should have at the end of that particular row.
How to print the pattern,
Use the free print friendly service here
Starting at the top of the head:
1) magic circle with 6sc (6)
2) 2sc in each st (12)
3) 1sc then 2sc in next st (18)
4) 1sc in next 2st then 2sc in next st (24)
5) 1sc in next 3st then 2sc in next st (30)
6) 1sc in next 4st then 2sc in next st (36)
7-14) 1sc in each st for 8 rows
Safety eyes go in between the 10th and 11th row with about 6-7 stitches between them.
15) 1sc in next 4st then 2tog (30)
16) 1sc in next 3st then 2tog (24)
17) 1sc in next 2st then 2tog (18)
18) 1sc in next 4st then 2tog (15)
19) 1sc in each st for 1 row
20) 1sc in next 4st then 2sc in next st (18)
stuff and shape head. You can add more stuffing into the head over the next few rows
21) 1sc in next 2st then 2sc in next st (24)
22) 1sc in next 3st then 2sc in next st (30)
23-25) 1sc in each st for 3 rows
26) 1sc in next 4st then 2sc in next st (36)
27) 1sc in next 5st then 2sc in next st (42)
28) 1sc in each st for 1 row
29) 1sc in next 5st then 2tog (36)
30) 1sc in next 4st then 2tog (30)
31) 1sc in next 3st then 2tog (24)
32) 1sc in next 2st then 2tog (18)
stuff and shape body. Make sure to add stuffing into the neck area if needed. You can stuff more into the body over the next 2 rows.
33) 1sc then 2tog (12)
34) 1sc then 2tog (8)
35) 2tog twice then f/o and use yarn tail to weave in and out of the remaining stitches, pull tight to close the gap, knot off and hide yarn tail inside the body.
Ears:
1) magic circle with 6sc (6)
2) 2sc in each (12)
3) 1sc then 2sc in next st (18)
4) 1sc in next 5st then 2sc in next st (21)
5) 1sc in next 5st then 2tog (18)
6) 1sc in next 4st then 2tog (15)
7) 1sc in each st for 1 row
sl st next st and f/o leaving a long tail for sewing. Do not stuff the ears. Fold flat and shape. Pin to the top of the head then sew in place.
Muzzle:
1) magic circle with 6sc (6)
2) 2sc in each (12)
3) 1sc in each st for 1 row
sl st next st and f/o leaving a long tail for sewing. Add a nose with black embroidery thread. Do not stuff the muzzle.
Arms:
1) magic circle with 6sc (6)
2) 2sc in each (12)
3) 1sc in next 5st then 2sc in next st (14)
4-5) 1sc in each st for 2 rows
6) 1sc in next 5st then 2tog (12)
7-9) 1sc in each st for 3 rows
10) 1sc in next 4st then 2tog (10)
f/o leaving a long tail for sewing. Stuff hand and lightly stuff arm.
You can add a thumb by inserting yarn in between the 5th and 6th row and making 2dc then f/o, shape and hide yarn tails inside arm.
Legs:
1) magic circle with 6sc (6)
2) 2sc in each (12)
3) 1sc then 2sc in next st (18)
4) 1sc in next 2st then 2sc in next st (24)
5-6) 1sc in each st for 2 rows
7) 1sc in next 2st then 2tog (18)
8) 2tog 4 times then 1sc in next 10st (14)
9) 2tog twice then 1sc in next 10st (12)
10-12) 1sc in each st for 3 rows
stuff and shape the foot, stuff the bottom of the leg lightly, leave the top of the leg free of stuffing. Squish the top of the leg together and sc through both sides of the leg across the top for one row. f/o leaving a tail for sewing.
Optional: add 4 toes the same way you made the thumbs. I made the toes on the 5th row with a small space between each toe.
Tail:
1) magic circle with 6sc (6)
2) 2sc in each (12)
3) 1sc then 2sc in next st (18)
4) 1sc then 2tog (12)
sl st next st and f/o leaving a tail for sewing
Assembly:
Place the eyes in between the 10th and 11th row with about 6-7 stitches between them.
The top of the muzzle is just above the 11th row
Pin the ears on and play around with placement before sewing them in place
The arms are sewn directly under the head. Add a stitch or 2 from under the arm to the body to tack the arm down if they are flaring out too far.
Sew the legs flat to the underside of the body so that the bear sits.