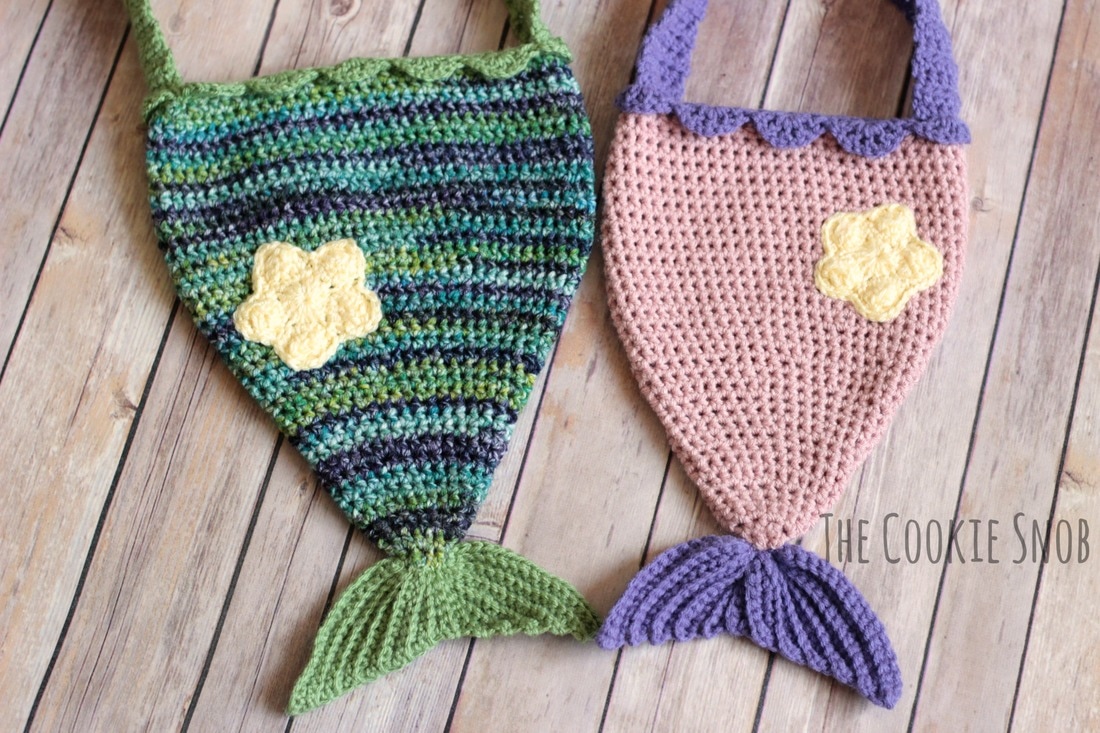
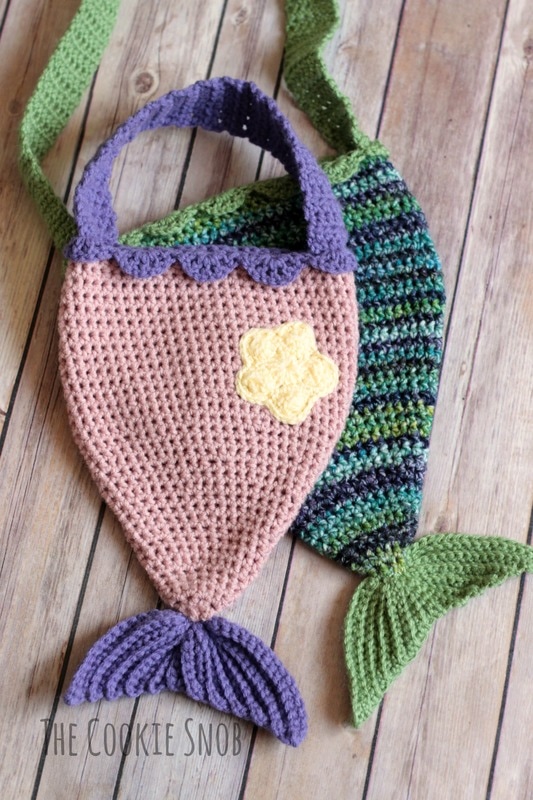
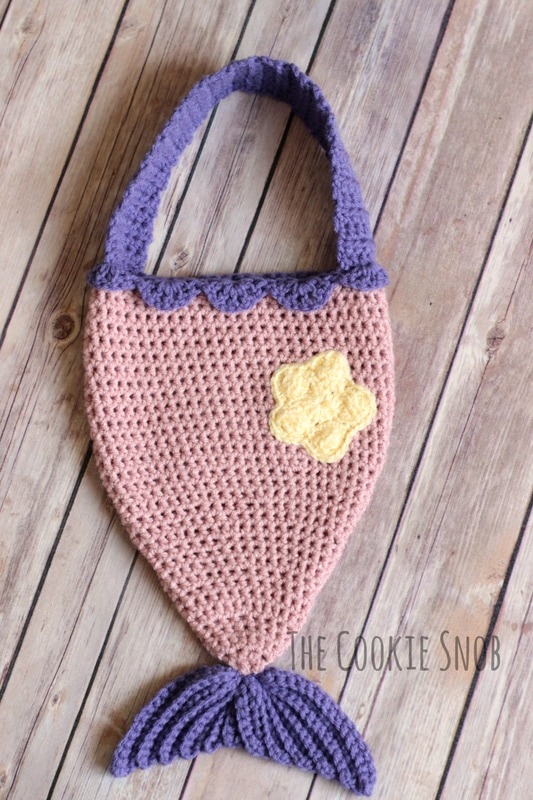
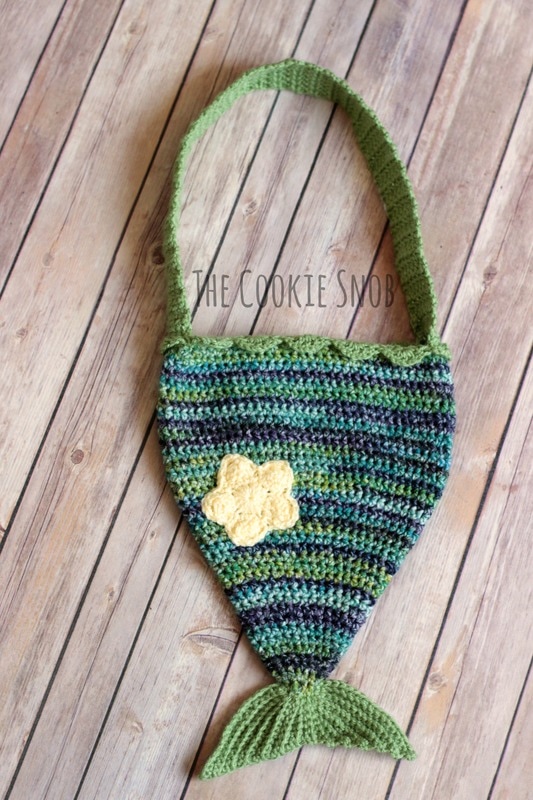
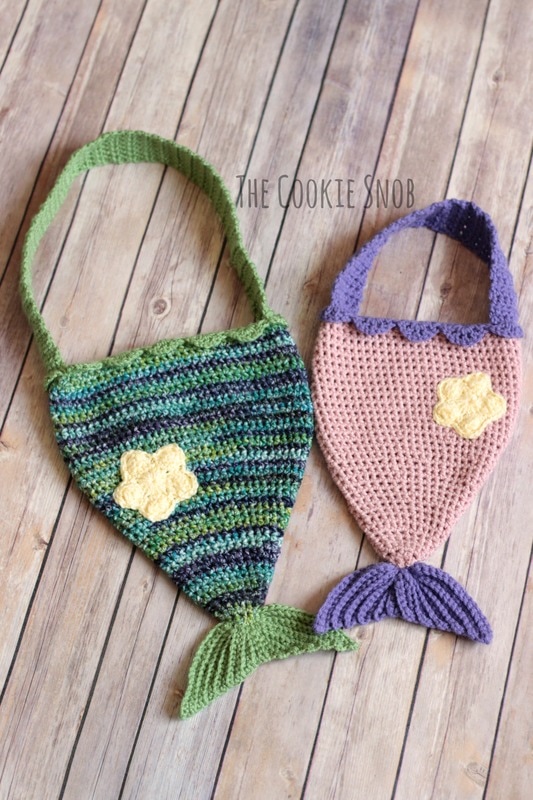
This fun bag is written in both child and adult sizes. I designed the straps for this bag to be more of a purse style, but if you’d like to make it into a cross body bag instead, you can reference the shark bag pattern, since the basic dimensions of the bag are the same. The pictures for this tutorial feature the child sized bag (the pink tail), but the construction techniques are the same for the adult sized bag (the blue/green tail) as well. The child instructions are written out first (illustrated with pictures), followed by the adult instructions.
If you’d like a printer-friendly PDF version of this pattern (or if you just want to help support my blog), you can find one on Ravelry.
Materials:
- Worsted weight yarn in main color (I used less than 1 skein of I Love This Yarn! in Rosy Cheeks)
- Less than 1 skein of worsted weight yarn in contrasting color
- Size I (5.5mm) crochet hook and size 7 (4.5mm) crochet hook
- Stitch marker (optional)
- Tapestry needle
Stitch Glossary:
st(s) = stitch(es)
ss = slip stitch
sc = single crochet
inc = work 2 sc in the same st
dec = single crochet decrease
hdc = half double crochet
hdc inc = work 2 hdc in the same st
dc = double crochet
dc3tog = double crochet 3 together (decrease across 3 dc)
Body:
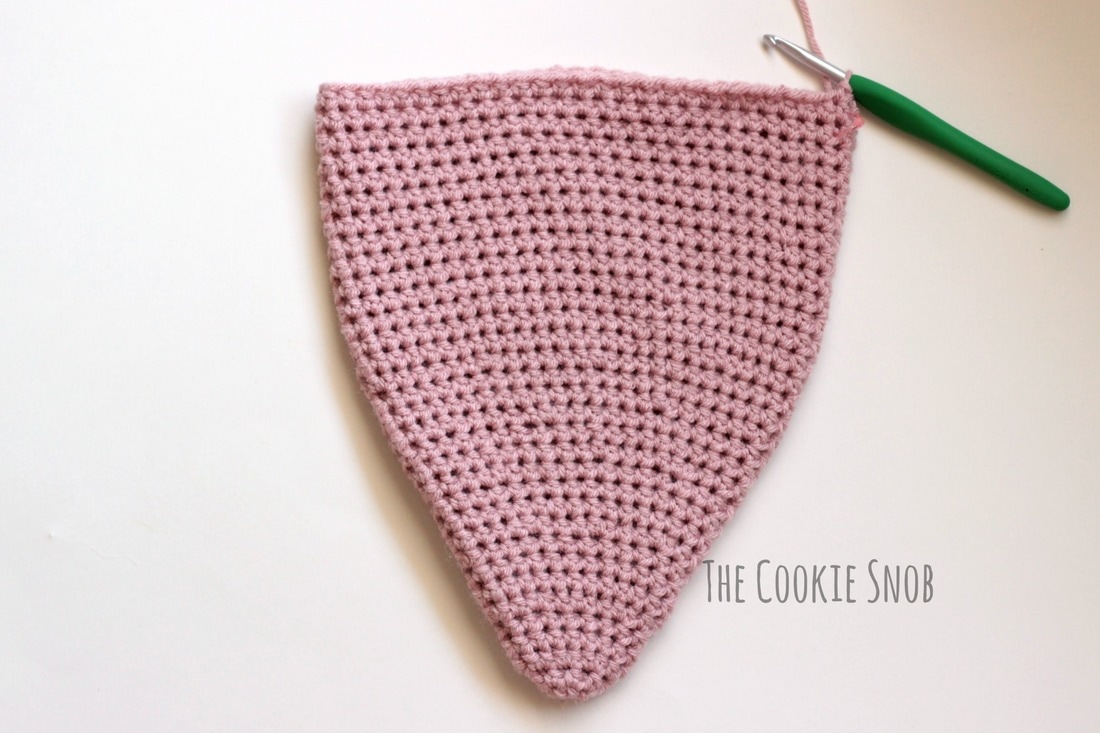
This section begins in the round (in a continuous spiral without turning or joining) in order to avoid a visible seam. I recommend using a stitch marker to help keep your place.
Begin with the size I (5.5mm) crochet hook.
Round 1: Make a magic circle, ch 2, and work 8 hdc into the circle (8)
Round 2: hdc around (8)
Round 3: hdc inc around (16)
Rounds 4-5: hdc around (16)
Round 6: [hdc inc, hdc in the next st] around (24)
Rounds 7-9: hdc around (24)
Round 10: [hdc inc, hdc in the next 2 sts] around (32)
Rounds 11-13: hdc around (32)
Round 14: [hdc inc, hdc in next 3 sts] around (40)
Rounds 15-16: hdc around (40)
Round 17: [hdc inc, hdc in next 4 sts] around (48)
Rounds 18-19: hdc around (48)
Round 20: [hdc inc, hdc in next 5 sts] around (56)
Rounds 21-34: hdc around (56)
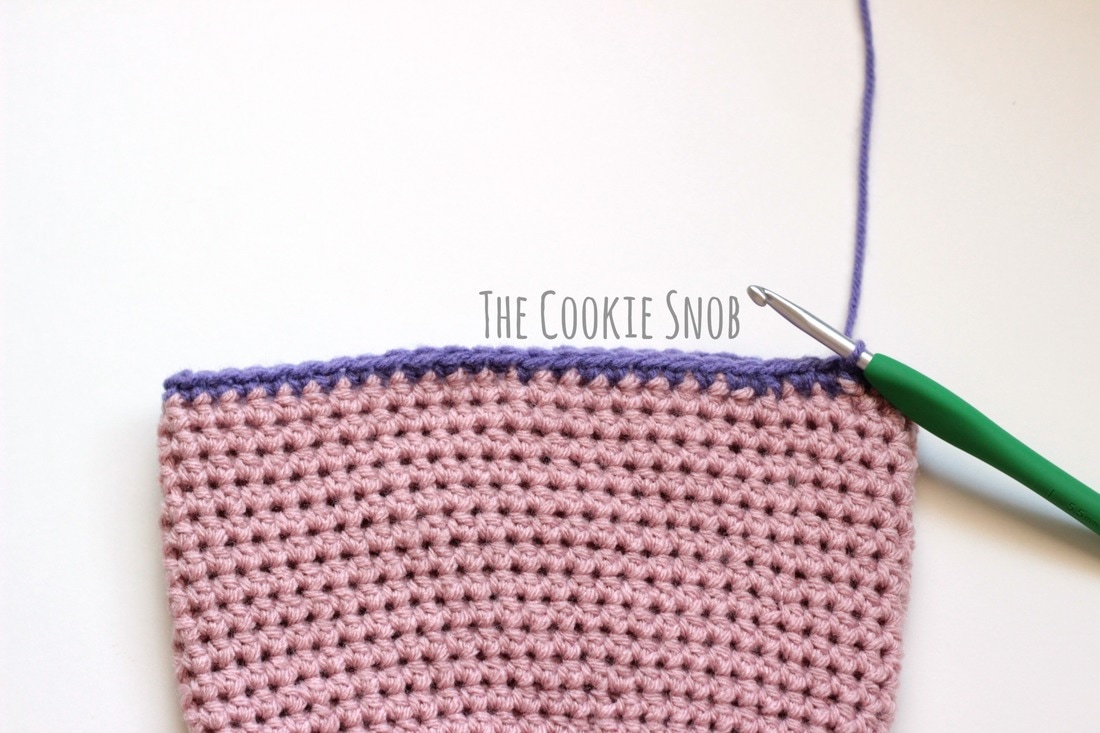
Sc then ss to even off the round.
Round 35: ch 1, dec, sc until the end of the round, ss to join (55)
Rounds 38-70: ch 2, hdc across, turn (6)
*Note: I designed the strap length to fit my small toddler. You may want to make the strap longer for an older child*
Fasten off, leaving a long yarn tail for sewing. Using a tapestry needle and the yarn tail, stitch the end of the strap to the opposite side of the bag.
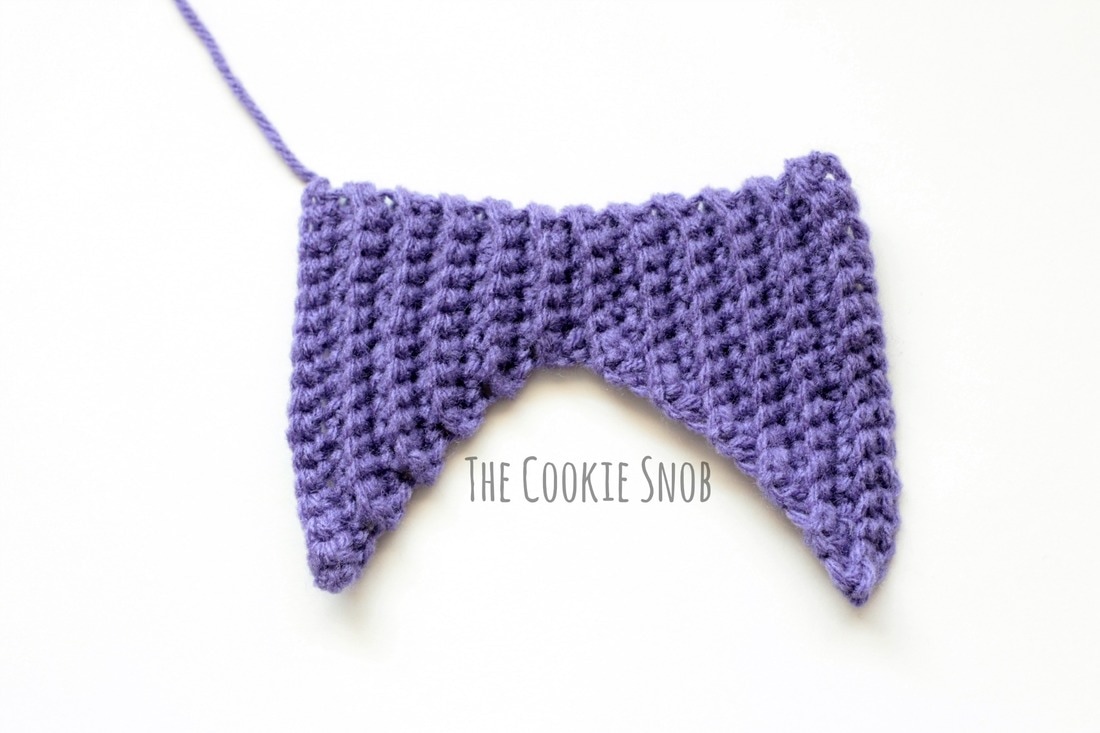
Each row in this section is worked in the back loops only to create a ridged look.
Using the size I (5.5mm) crochet hook:
ch 17
Row 1: sc in the 2nd ch from the hook and in each st across, turn (16)
Row 2: ch 1, sc 14, dec, turn (15)
Row 3: ch 1, dec, sc 13, turn (14)
Row 4: ch 1, sc 12, dec, turn (13)
Row 5: ch 1, dec, sc 11, turn (12)
Row 6: ch 1, sc 10, dec, turn (11)
Row 7: ch 1, dec, sc 9, turn (10)
Row 8: ch 1, sc 8, dec, turn (9)
Row 9: ch 1, dec, sc 7, turn (8)
Row 10: ch 1, sc 6, dec, turn (7)
Row 11: ch 1, dec, sc 5, turn (6)
Row 12: ch 1, sc 4, dec, turn (5)
Row 13: ch 1, inc, sc 4, turn (6)
Row 14: ch 1, sc 5, inc, turn (7)
Row 15: ch 1, inc, sc 6, turn (8)
Row 16: ch 1, sc 7, inc, turn (9)
Row 17: ch 1, inc, sc 8, turn (10)
Row 18: ch 1, sc 9, inc, turn (11)
Row 19: ch 1, inc, sc 10, turn (12)
Row 20: ch 1, sc 11, inc, turn (13)
Row 21: ch 1, inc, sc 12, turn (14)
Row 22: ch 1, sc 13, inc, turn (15)
Row 23: ch 1, inc, sc 14 (16)
Fasten off, leaving a long yarn tail
Using the 7 (4.5mm) hook:
Center: Make a magic circle, ch 2, and work 15 dc into the circle, ss to join
Arms: [ch 2, dc in the same st and in the next 2 sts, turn, ch 2, dc3tog, turn, ss down side and into next st] 5 times, ss to join
Fasten off, leaving a long yarn tail for sewing
Materials:
- Worsted weight yarn in main color (I used less than 1 skein of I Love This Yarn! in Peacock Tails)
- Less than 1 skein of worsted weight yarn in contrasting color
- Size I (5.5mm) crochet hook
- Stitch marker (optional)
- Tapestry needle
Stitch Glossary:
st(s) = stitch(es)
ss = slip stitch
sc = single crochet
inc = work 2 sc in the same st
dec = single crochet decrease
hdc = half double crochet
hdc inc = work 2 hdc in the same st
dc = double crochet
dc3tog = double crochet 3 together (decrease across 3 dc)
Body:
This section begins in the round (in a continuous spiral without turning or joining) in order to avoid a visible seam. I recommend using a stitch marker to help keep your place.
Round 1: Make a magic circle, ch 2, work 8 hdc into the circle (8)
Round 2: hdc around (8)
Round 3: hdc inc around (16)
Rounds 4-5: hdc around (16)
Round 6: [hdc inc, hdc in the next st] around (24)
Rounds 7-9: hdc around (24)
Round 10: [hdc inc, hdc in the next 2 sts] around (32)
Rounds 11-13: hdc around (32)
Round 14: [hdc inc, hdc in next 3 sts] around (40)
Rounds 15-16: hdc around (40)
Round 17: [hdc inc, hdc in next 4 sts] around (48)
Rounds 18-19: hdc around (48)
Round 20: [hdc inc, hdc in next 5 sts] around (56)
Rounds 21-22: hdc around (56)
Round 23: [hdc inc, hdc in next 6 sts] around (64)
Round 24: hdc around (64)
Round 25: [hdc inc, hdc in next 7 sts] around (72)
Round 26-39: hdc around (72)
Sc then ss to even off the round. Switch to the contrasting color.
Round 40: ch 1, inc, sc until the end of the round, ss to join (73)
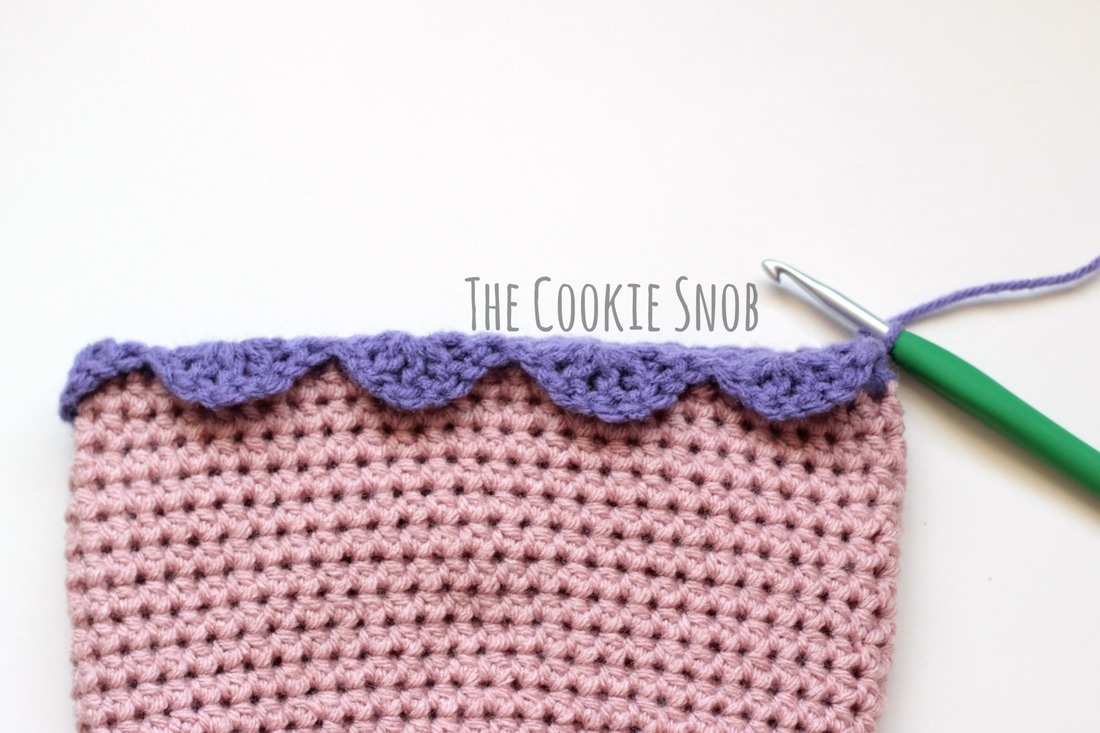
Round 41: Working in the front loop only, ss, [skip next 2 sts, work dc, ch 1, dc, ch 1, dc, ch 1, dc, ch 1, dc in the next st, skip next 2 sts, ss in next st] around, ss to join
Round 42: ch 2, working in unused back loops from the previous round, hdc in the next 6 sts, turn (6)
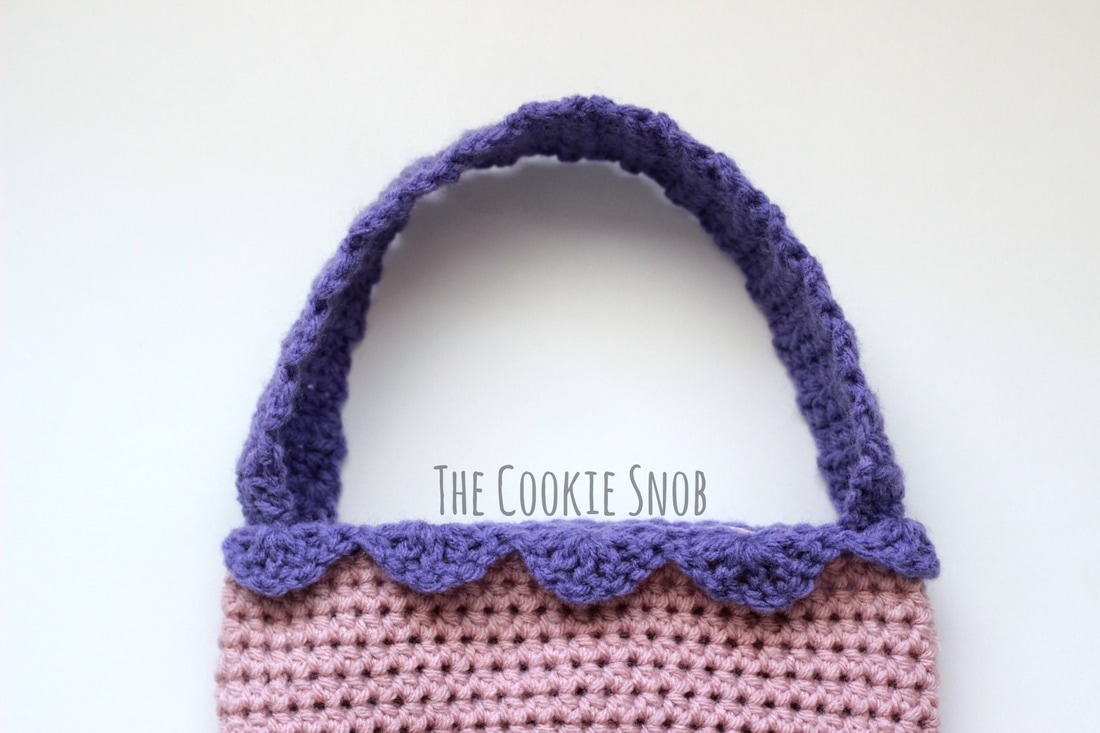
Rounds 43-110 : ch 2, hdc across, turn (6)
Fasten off, leaving a long yarn tail for sewing. Using a tapestry needle and the yarn tail, stitch the end of the strap to the opposite side of the bag.
Fin:
Each row in this section is worked in the back loops only to create a ridged look.
ch 19
Row 1: sc in the 2nd ch from the hook and in each st across, turn (18)
Row 2: ch 1, sc 16, dec, turn (17)
Row 3: ch 1, dec, sc 15 (16)
Row 4: ch 1, sc 14, dec, turn (15)
Row 5: ch 1, dec, sc 13, turn (14)
Row 6: ch 1, sc 12, dec, turn (13)
Row 7: ch 1, dec, sc 11, turn (12)
Row 8: ch 1, sc 10, dec, turn (11)
Row 9: ch 1, dec, sc 9, turn (10)
Row 10: ch 1, sc 8, dec, turn (9)
Row 11: ch 1, dec, sc 7, turn (8)
Row 12: ch 1, sc 6, dec, turn (7)
Row 13: ch 1, dec, sc 5, turn (6)
Row 14: ch 1, sc 4, dec, turn (5)
Row 15: ch 1, inc, sc 4, turn (6)
Row 16: ch 1, sc 5, inc, turn (7)
Row 17: ch 1, inc, sc 6, turn (8)
Row 18: ch 1, sc 7, inc, turn (9)
Row 19: ch 1, inc, sc 8, turn (10)
Row 20: ch 1, sc 9, inc, turn (11)
Row 21: ch 1, inc, sc 10, turn (12)
Row 22: ch 1, sc 11, inc, turn (13)
Row 23: ch 1, inc, sc 12, turn (14)
Row 24: ch 1, sc 13, inc, turn (15)
Row 25: ch 1, inc, sc 14, turn (16)
Row 26: ch 1, sc 15, inc, turn (17)
Row 27: ch 1, inc, sc 16 (18)
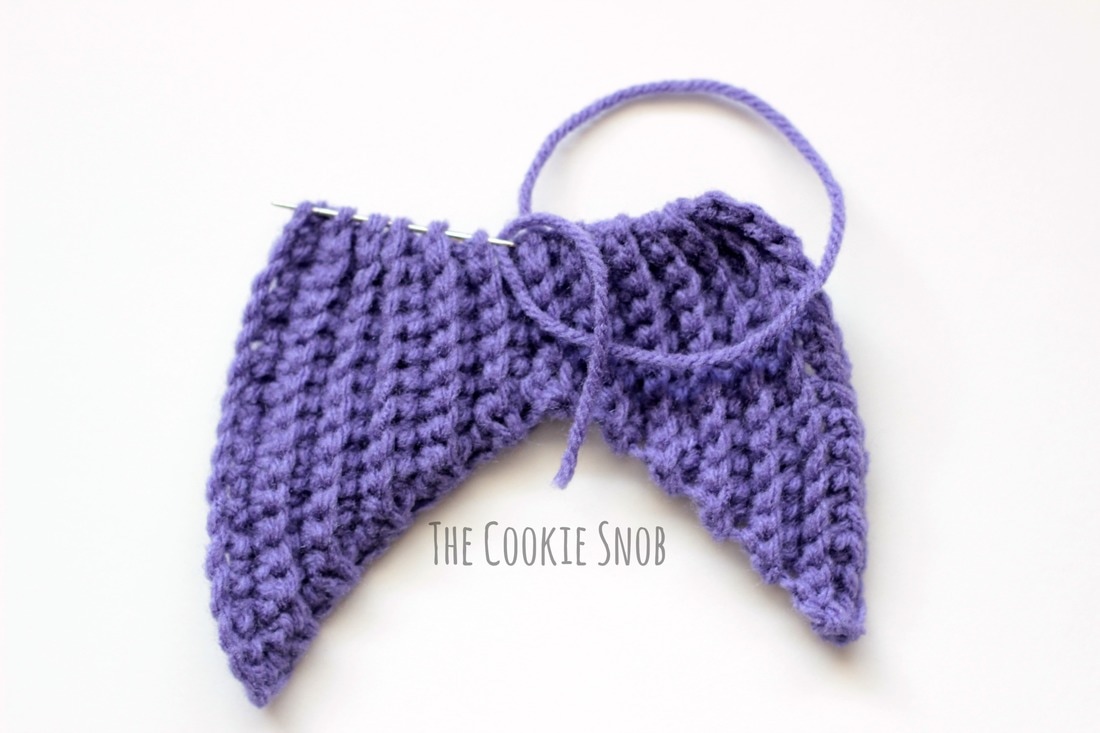
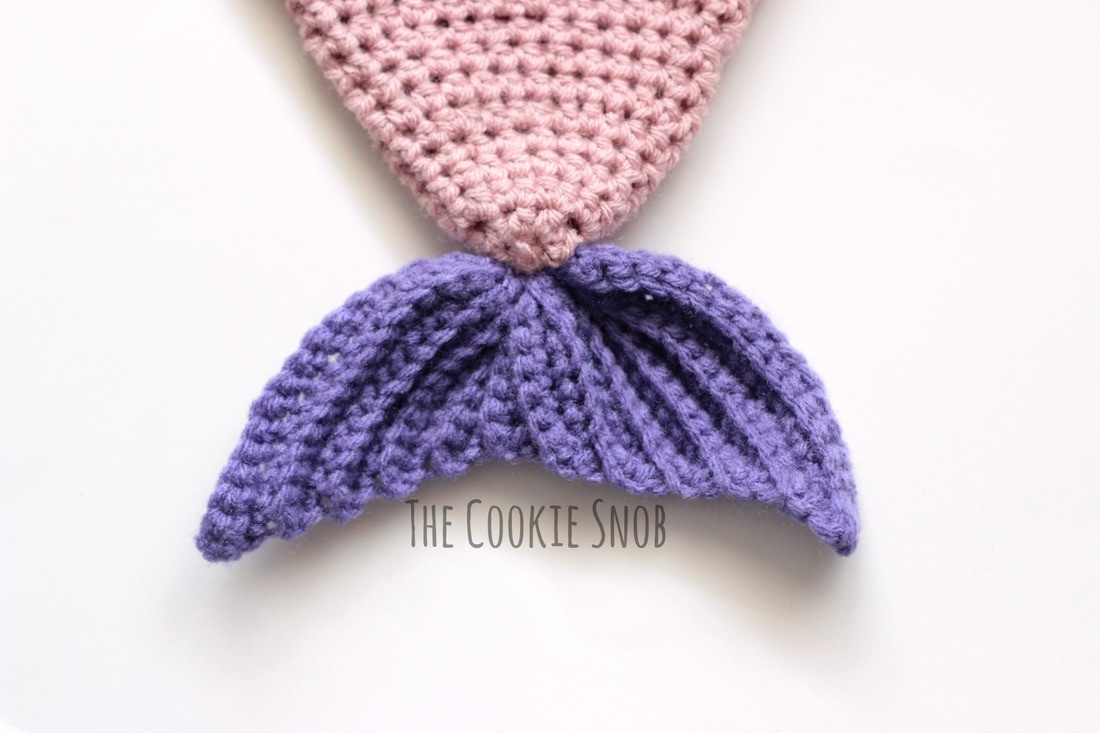
Fasten off, leaving a long yarn tail. Using the long yarn tail and the tapestry needle, thread the long tail through the ends of the stitches on the straight edge of the fin. Pull taut to create the tail shape and then, using the remaining yarn tail, stitch securely to the bottom of the bag.
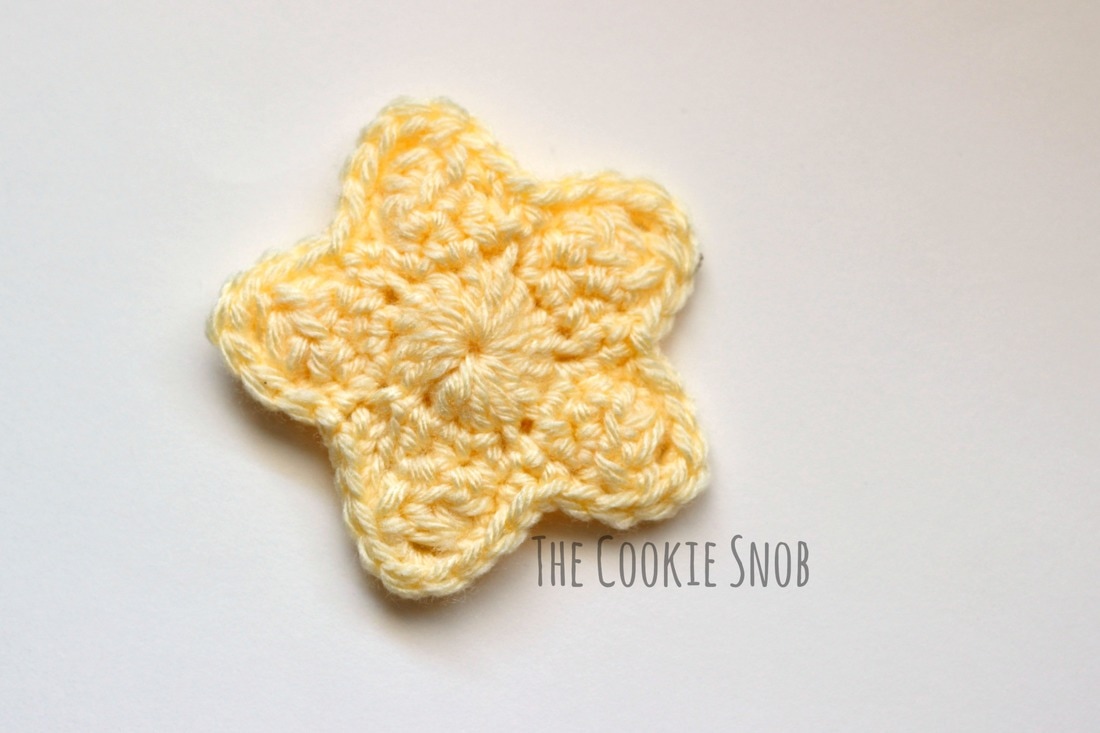
Optional: Star Fish
Center: Make a magic circle, ch 2, and work 15 dc into the circle, ss to join
Arms: [ch 2, dc in the same st and in the next 2 sts, ch 2, turn, dc3tog, turn, ss down side and into next st] 5 times, ss to join
Fasten off, leaving a long yarn tail for sewing. If you wish to add the starfish decoration (or some other decoration), stitch onto the body of the bag using the long yarn tail and the tapestry needle. Weave in any remaining ends.

