Resources and crochet tutorials you may find helpful in following this pattern: Crochet Abbreviations, US to UK Crochet Conversion Chart. Find links to stitches and basic crochet skills on the “Tutorial” menu: Getting Started will show basic stitches such as the slip stitch, single crochet, double crochet stitch and chain stitch used in many patterns and Crochet Stitch Dictionary shows our growing collection of crochet stitch tutorials.
T- How to get started in crochet, basic techniques – The Blog – US/UK

This post will help you to get started in crochet, is a step-by-step how to crochet guide, you will learn how to hold your crochet hook, how to hold the yarn, make a slip knot, how to make a foundation chain and how to count the chains so you can start crocheting.

Materials Needed:
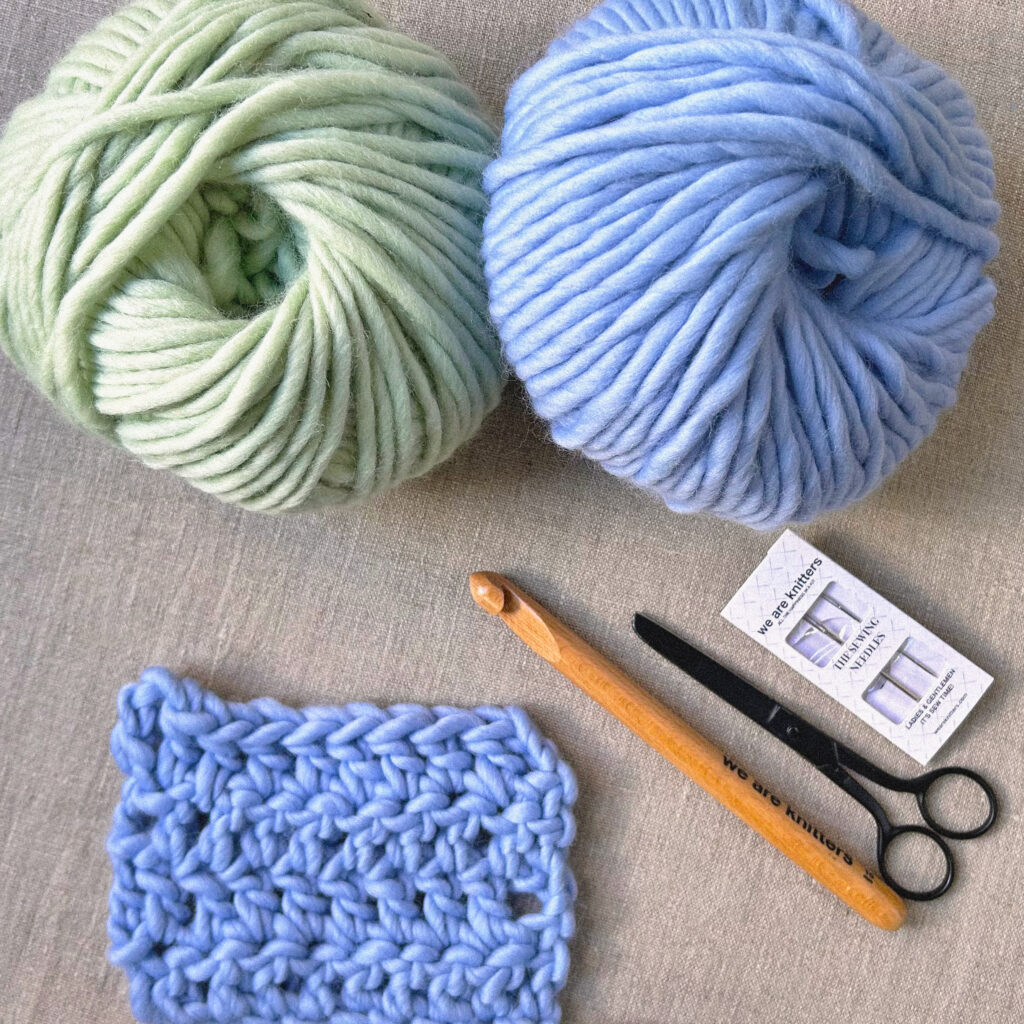
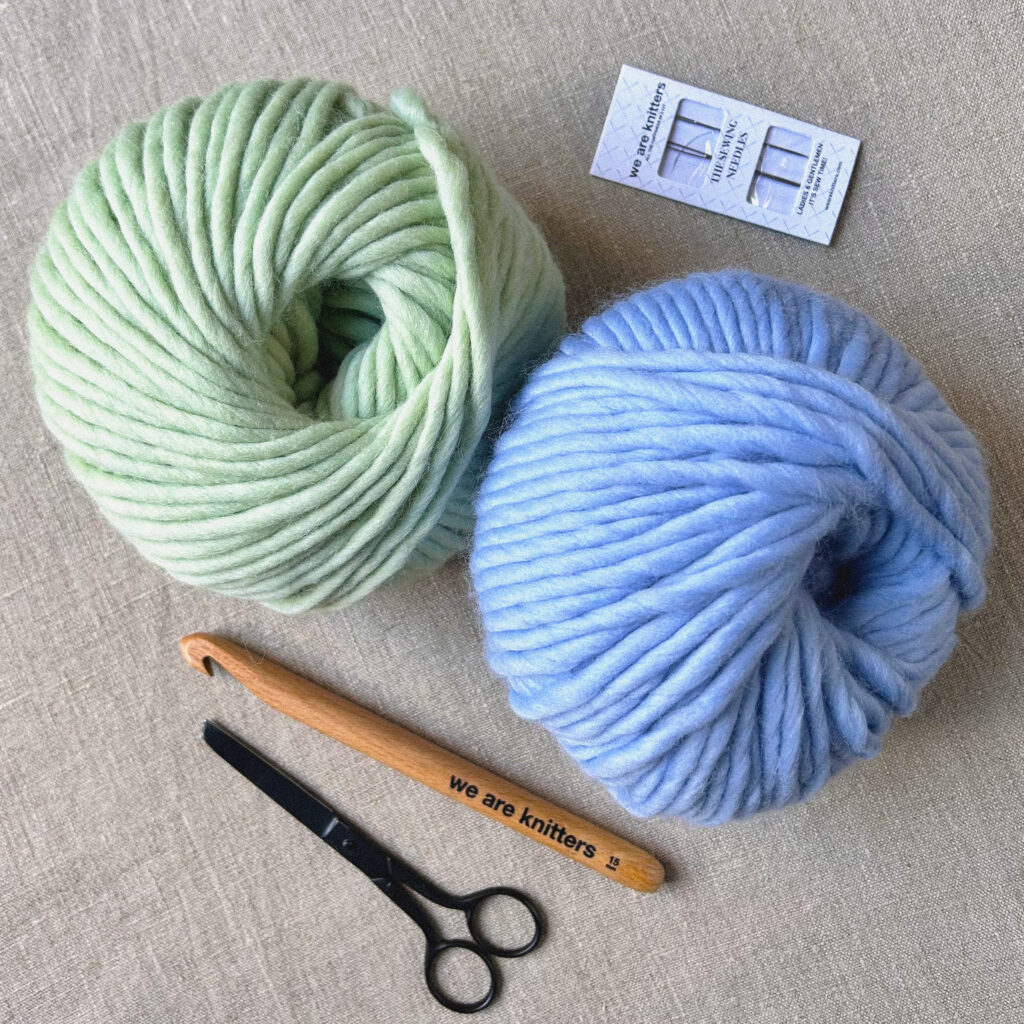
Remember you need to choose a yarn and a crochet hook suitable for your project, in this case we will use The wool in sage green and dusty blue and our crochet hook Size 15mm / US size P/Q , we suggest you to use a chunky wool, super bulky yarn, it will be easier to see your chain and your stitches. In crochet it is very important to learn how to count the stitches so you will have to identify them.
How to Hold Your Crochet Hook
Holding the crochet hook is the most basic thing in crochet. If you learn how to do it correctly you will prevent injuries and you will crochet faster. The best way is to hold it like a pencil. Put your thumb on your hook, and your index finger against your thumb. With the hook end facing down. Wrap the remaining fingers around the other side, as if you were holding a pencil.
How to Hold Yarn When Crocheting
Holding the yarn will determine the tension, so holding it correctly will make sure the tension in your project is right. If you crochet too tightIt will make it increasingly difficult to insert the crochet hook through the stitch.
Use your other hand, the one that is not holding the crochet hook, wrap the yarn around your pinkie once, then pass the end of the yarn above your index finger, finally leave an 8 in end and hold the yarn with your thumb and your middle finger. Extend your index finger to tight the yarn. Now you are ready to start crocheting.
How to Make a Slip Knot
To make the slip knot, place the crochet hook above the yarn, the one between the index finger and the one holded by your thumb and middle finger, and twist it, wrap the yarn that is closer to your index finger and pass it through the loop on your crochet hook. Tight the knot.
How to Make a Foundation Chain
Wrap the yarn around the hook (yarn over) and pass the hook through the loop on your hook. This will be your first chain. To crochet the rest of the chains yarn over and pass this yarn over through the last chain you did. Repeat this until you have the desired number of chains.
How to Count the Chains
Counting the chains is very important, crochet stitches need a foundation chain to start working them. Each project will require a number of chains that will determine a width.
The stitches in crochet are built from the top. That’s why when beginning a row, you always have to make the number of chains necessary to reach the height of the stitch you will work. These chains substitute the first stitch of the row.
Also depending on the number of chains (height), you need to start a row, is where you will insert the crochet hook on the foundation chain. For example if you are going to work in single crochet and you need to chain 1 at the beginning of the row, you will start crocheting in the third chain from your crochet hook.
Single crochet: you will need to chain 1 at the beginning of each row and start crocheting on the third chain in the foundation chain.
Half double crochet: you will need to chain 3 at the beginning of each row and start crocheting on the fourth in the foundation chain.
Double crochet: chain 3 at the beginning of each row and start crocheting on the fifth in the foundation chain.
Remember that you always will count the chains from the hook.
How to start a new row
Once you have finished crocheting the first row, turn your work, chain the number of chains required for your project, these chains count as the first stitch on your row, that is why you will skip the first stitch of the previous row, and you will start crocheting your first stitch on the second stitch of the previous row.
Then you will continue crocheting the rest of the stitches and you will crochet the last stitch in the last turning chain of the previous row.
For example if you are working in single crochet, you will chain 1, then work the first single crochet in the second stitch of the previous row, work all the stitches in single crochet, and work the last stitch in the turning chain of the previous row.
How to finish your crochet projects
Once you have finished crocheting all your project, cut the yarn leaving a 10-20 inch (12-50 cm) tail, depending on the project and pull the yarn out through the last stitch.
To finish, make a knot and weave in the tail end of yarn about 3 inches (8 cm), cut off even with the fabric. Weave in any loose ends in the same way.
If you like to try and get started you can check our crochet pattern for beginners Osiris snood here you will find a video tutorial step by step.
We hope you like this crochet beginner tips and that soon you share your projects with it on social media with the hashtag #weareknitters 


