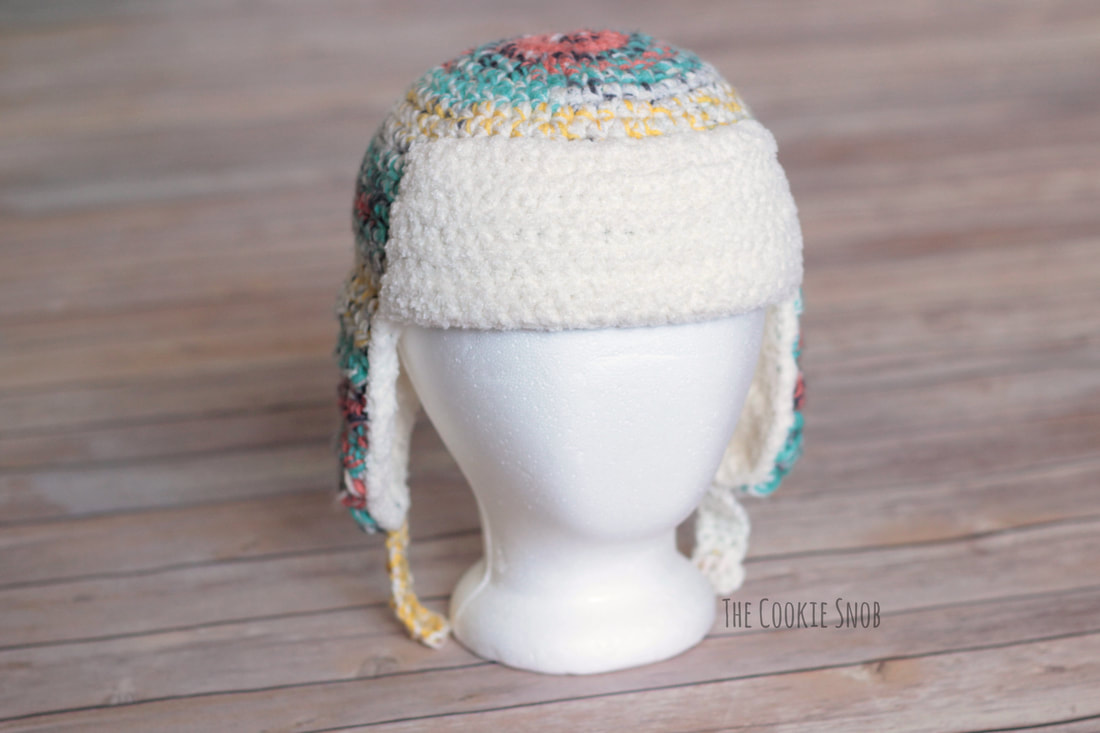
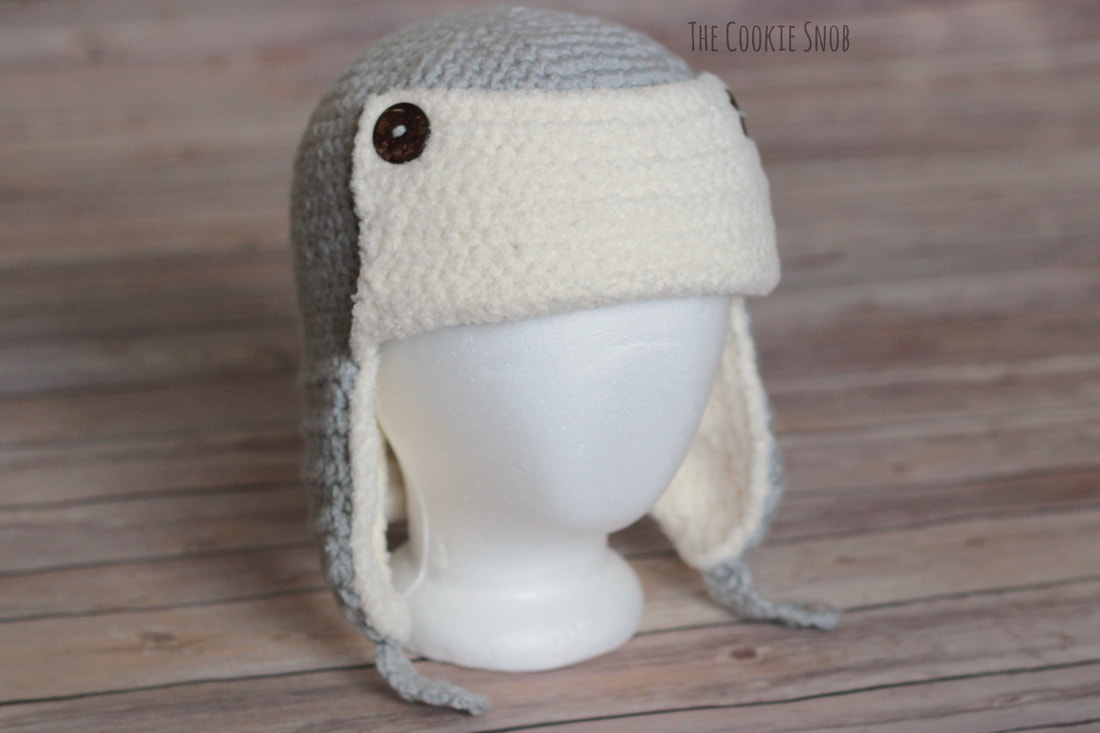
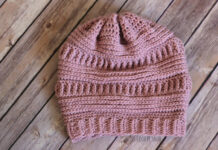
***Note: Both hats are made by holding two strands of yarn together as you go. If your skein has a center pull, you can work from both ends of the same skein, but it’s usually easiest to use two different skeins to avoid tangles. You won’t use 2 whole skeins’ worth of yarn, but it makes it simpler to work on the hat, so I’ve listed 2 skeins in the materials below.***
Materials:
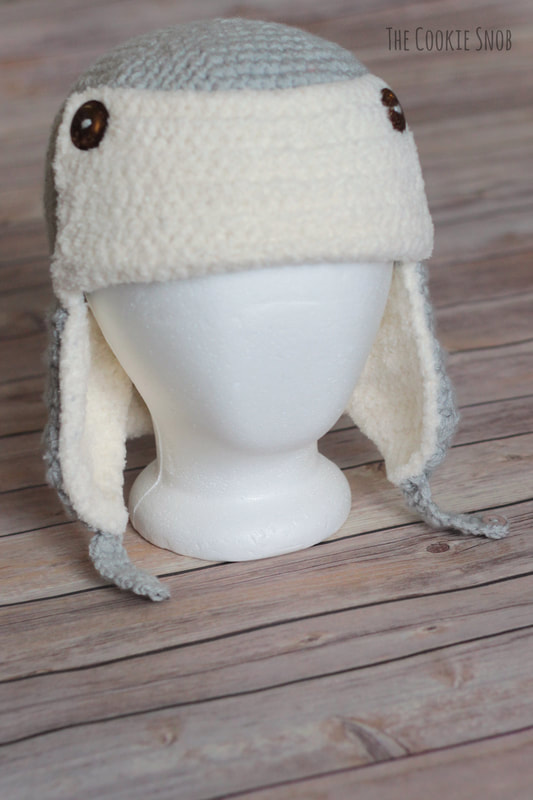
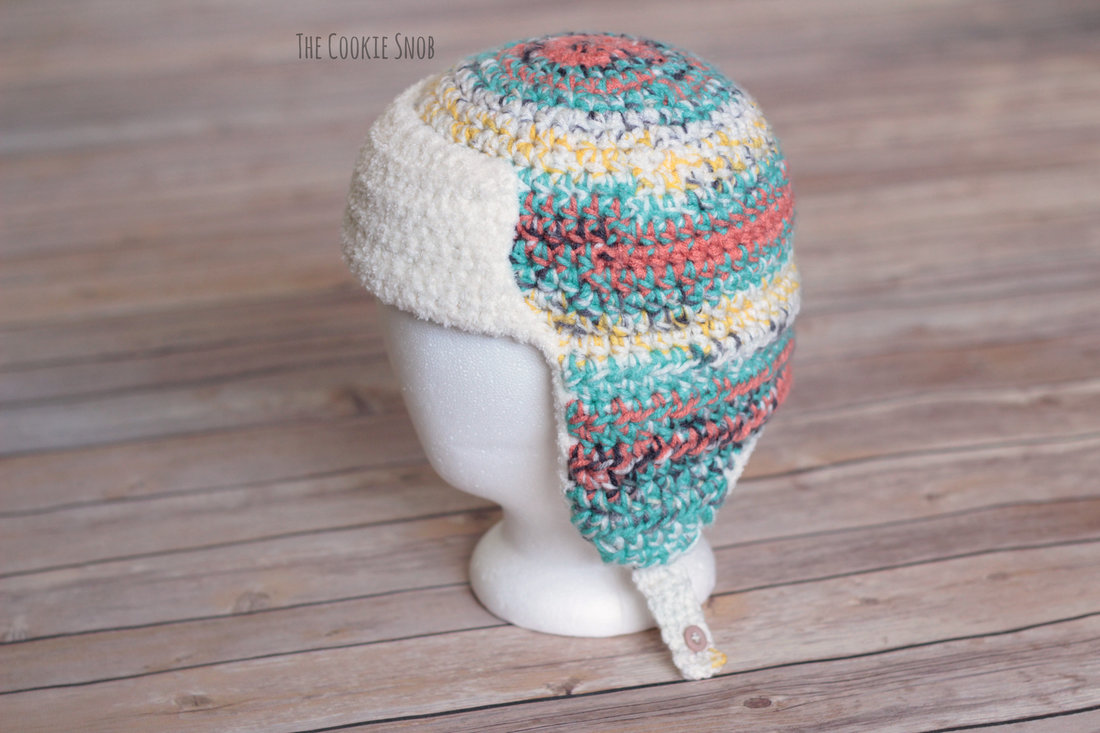
- 2 skeins of worsted weight yarn in main color (I used I Love This Yarn! in Painted Canyon for the small and I Love This Yarn! in Gray Mist for the large) ***See note above***
- 2 skeins of fuzzy worsted weight yarn in accent color (I used Yarn Bee Fur-Ever Style in Ivory for both sizes) ***See note above***
- Size J (6.0mm) crochet hook)
- Tapestry needle
- One 1/2″ button
- Optional: Two 1″ buttons
Stitch Glossary:
st(s) = stitches
ch = chain
ss = slip stitch
sc = single crochet
hdc = half double crochet
hdc inc = hdc increase (work 2 hdc into the same st)
hdc dec = decrease over 2 hdc
Gauge:
4″ = 11 hdc, 4″ = 10 rows
Begin with the main color yarn held double:
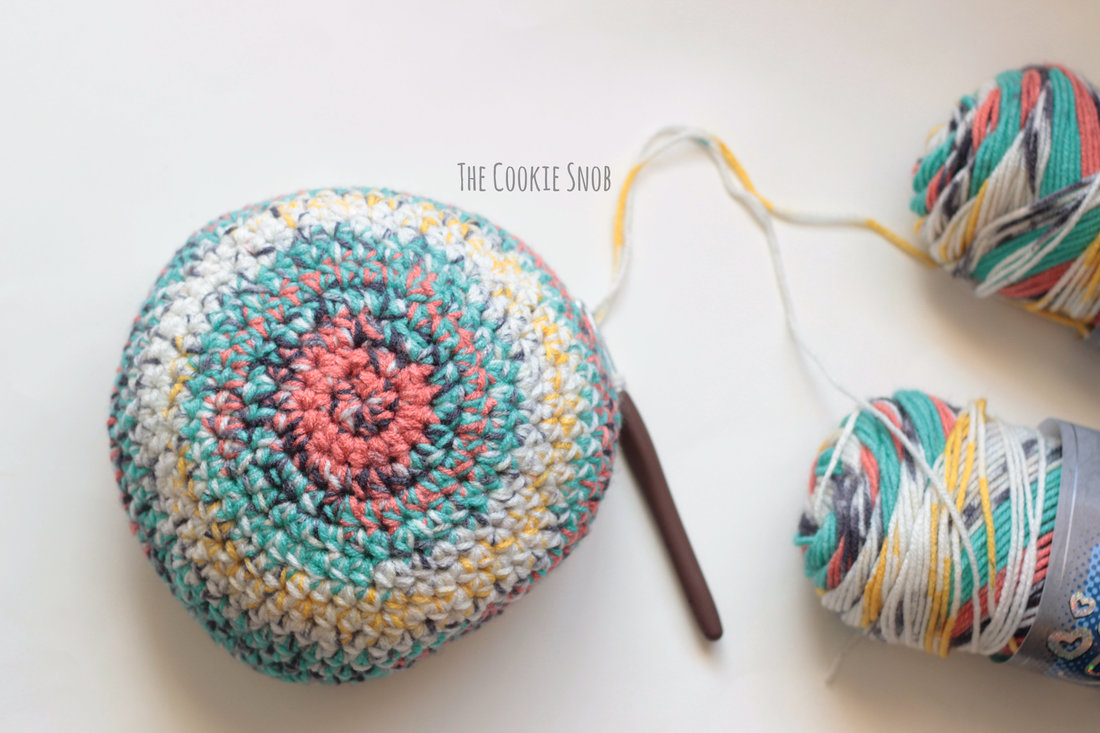
Round 1: Make a magic circle and work 8 hdc into the circle, pull taut to close and ss to first hdc to join (8)
Round 2: ch 1, hdc inc around, ss to join (16)
Round 3: ch 1, [hdc inc, hdc in the next st] around, ss to join (24)
Round 4: ch 1, [hdc inc, hdc in the next 2 sts] around, ss to join (32)
Round 5: ch 1, [hdc inc, hdc in the next 3 sts] around, ss to join (40)
Round 6: ch 1, [hdc inc, hdc in the next 4 sts] around, ss to join (48)
Round 7: ch 1, hdc around, ss to join (48)
Round 8: ch 1, [hdc inc, hdc in the next 5 sts] around, ss to join (56)
Round 9: ch 1, hdc around, ss to join (56)
Round 10: ch 1, [hdc inc, hdc in the next 13 sts] around, ss to join (60)
Rounds 11-15: ch 1, hdc around, ss to join (60)
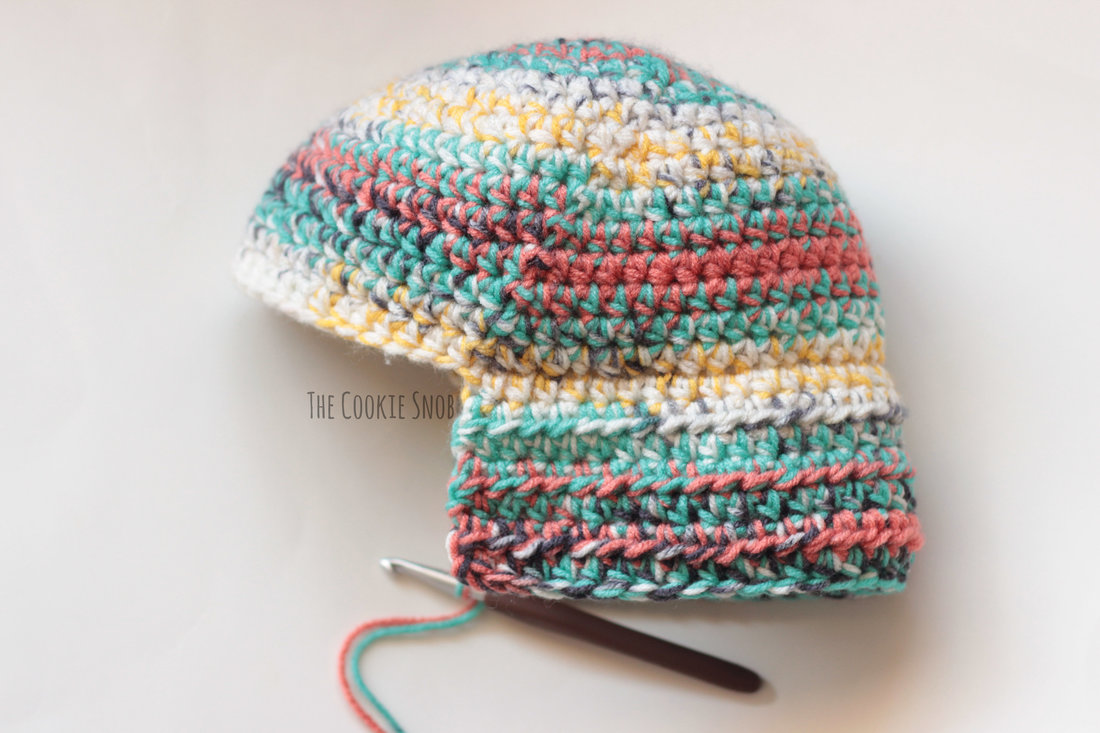
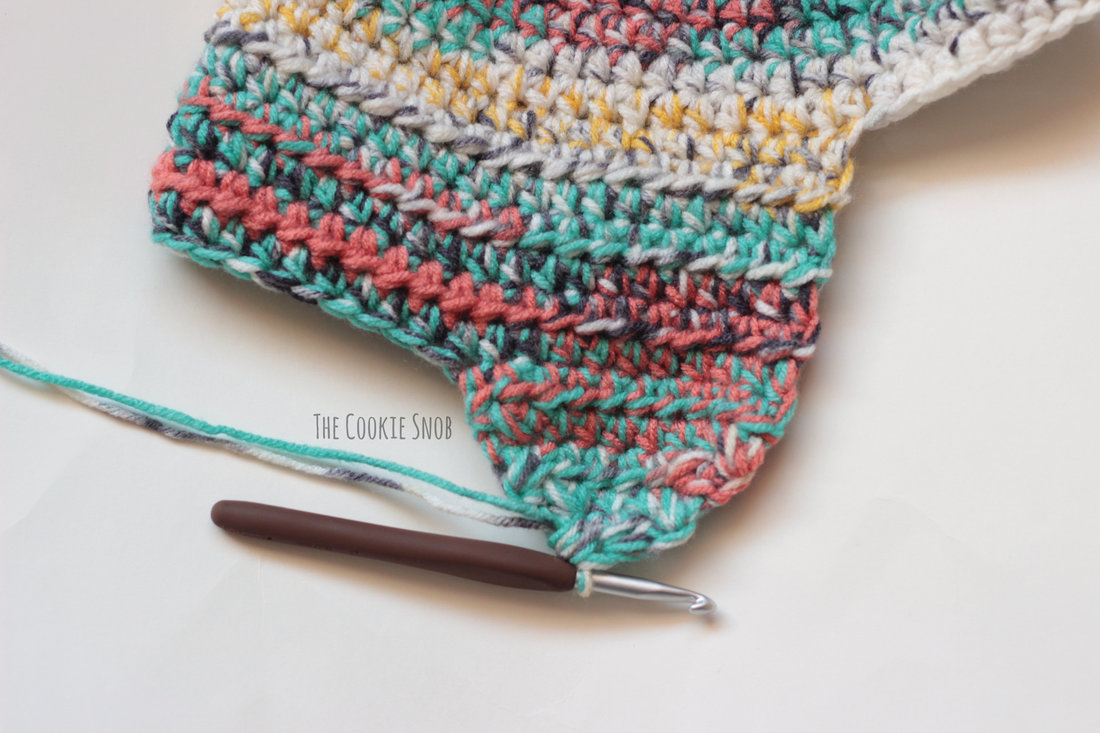
Rows 17-22: ch 1, hdc across, turn (36)
Row 23: ch 1, hdc in the next 10 sts, turn (10)
Row 24: ch 1, hdc dec, hdc in the next 6 sts, hdc dec, turn (8)
Row 25: ch 1, hdc dec, hdc in the next 4 sts, hdc dec, turn (6)
Row 26: ch 1, hdc dec, hdc in the next 2 sts, hdc dec, turn (4)
Row 27: ch 1, hdc dec twice (2)
Fasten off.
Now attach the yarn at the opposite end of Row 22 and repeat Rows 23-27 to make the second earflap. Fasten off.
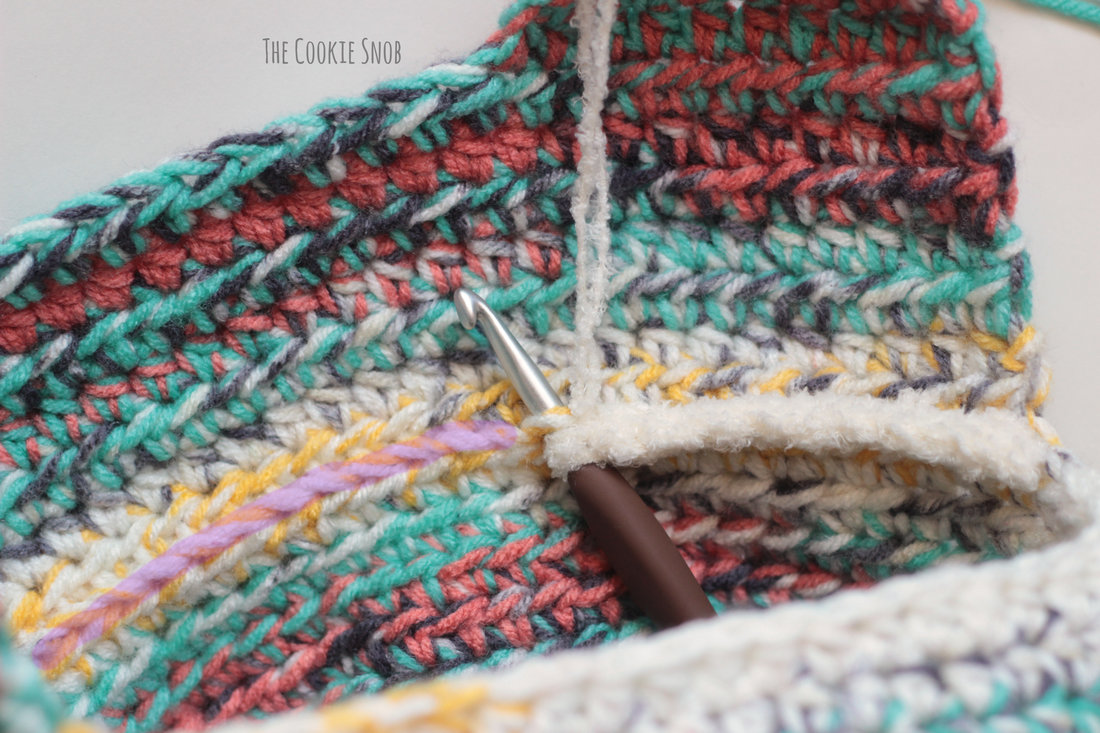
Row 1: Join the accent yarn, ch 1, hdc across in the remaining back loops, turn (36)
Row 9: ch 1, hdc in the net 10 sts, turn (10)
Row 10: ch 1, hdc dec, hdc in the next 6 sts, hdc dec, turn (8)
Row 11: ch 1, hdc dec, hdc in the next 4 sts, hdc dec, turn (6)
Row 12: ch 1, hdc dec, hdc in the next 2 sts, hdc dec, turn (4)
Row 13: ch 1, hdc dec twice (2)
Fasten off.
Now attach the yarn at the opposite end of Row 8 and repeat Rows 9-13 to make the second earflap. Fasten off.
Rows 1-10: ch 1, hdc across, turn (24)
OR, for the button version:
Rows 1-8: ch 1, hdc across, turn (24)
Row 9: ch 1, hdc, ch 1, skip the next st, hdc in the next 20 sts, ch 1, sk the next st, hdc in the last st, turn (22 hdc and 2 button holes)
Row 10: ch 1, hdc, hdc in the ch 1 space, hdc in the next 20 sts, hdc in the ch 1 space, hdc in the last st (24)
Using the main color yarn (one strand only):
Ch 4.
Row 1: hdc in the 2nd ch from the hook and in the next 2 sts, turn (3)
Row 2: ch 1, hdc across, turn (3)
Repeat row 2 until the strap is about 2.5″ long. Fasten off, leaving a long yarn tail.
Using the yarn tail, stitch the straps to the bottoms of the earflaps. Stitch the 1/2″ button to the end of one of the straps so that it can be used to fasten them together.
Flip up the front flap. Using the fuzzy accent yarn, stitch around the edges of the flap to join to the main body of the hat. Weave in ends.
OR, for the button version:
Flip up the front flap. Place the 1″ buttons over the buttonholes to help you find the correct placement. Then stitch the buttons to the body of the hat; the buttons will hold the front flap in place.
Begin with the main color yarn held double:
Round 1: Make a magic circle and work 8 hdc into the circle, pull taut to close and ss to first hdc to join (8)
Round 2: ch 1, hdc inc around, ss to join (16)
Round 3: ch 1, [hdc inc, hdc in the next st] around, ss to join (24)
Round 4: ch 1, [hdc inc, hdc in the next 2 sts] around, ss to join (32)
Round 5: ch 1, [hdc inc, hdc in the next 3 sts] around, ss to join (40)
Round 6: ch 1, [hdc inc, hdc in the next 4 sts] around, ss to join (48)
Round 7: ch 1, [hdc inc, hdc in the next 5 sts] around, ss to join (56)
Round 8: ch 1, [hdc inc, hdc in the next 13 sts] around, ss to join (60)
Round 9: ch 1, [hdc inc, hdc in the next 9 sts] around, ss to join (66)
Rounds 10-18: ch 1, hdc around, ss to join (66)
Row 19: ch 1, hdc in the next 40 sts in the front loop only, turn (40)
Rows 20-26: ch 1, hdc across, turn (40)
To make the first earflap:
Row 27: ch 1, hdc in the net 10 sts, turn (10)
Row 28: ch 1, hdc dec, hdc in the next 6 sts, hdc dec, turn (8)
Row 29: ch 1, hdc dec, hdc in the next 4 sts, hdc dec, turn (6)
Row 30: ch 1, hdc dec, hdc in the next 2 sts, hdc dec, turn (4)
Row 31: ch 1, hdc dec twice (2)
Fasten off.
Now attach the yarn at the opposite end of Row 26 and repeat Rows 27-31 to make the second earflap. Fasten off.
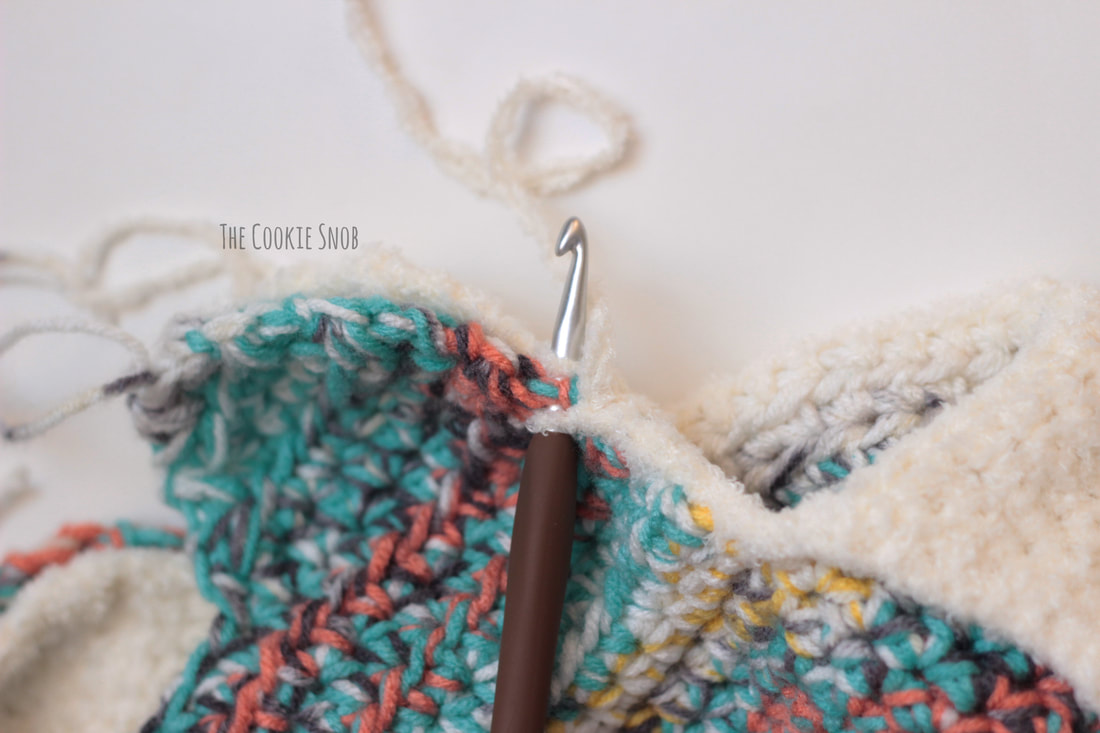
Now it’s time to add the fuzzy lining. Switch to the fuzzy accent color, held double. The first row is worked in the unworked back loops from Row 19 of the main color
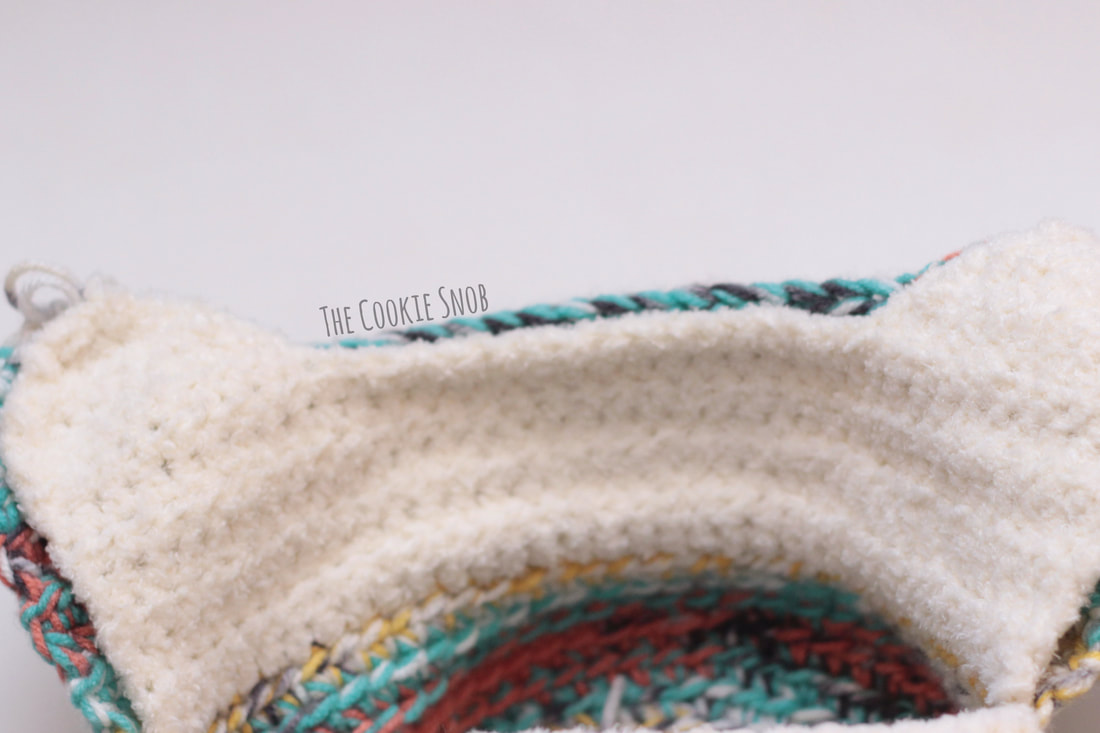
Row 1: Join the accent yarn, ch 1, hdc across in the remaining back loops, turn (40)
Rows 2-8: ch 1, hdc across, turn (40)
Row 9: ch 1, hdc in the next 10 sts, turn (10)
Row 10: ch 1, hdc dec, hdc in the next 6 sts, hdc dec, turn (8)
Row 11: ch 1, hdc dec, hdc in the next 4 sts, hdc dec, turn (6)
Row 12: ch 1, hdc dec, hdc in the next 2 sts, hdc dec, turn (4)
Row 13: ch 1, hdc dec twice (2)
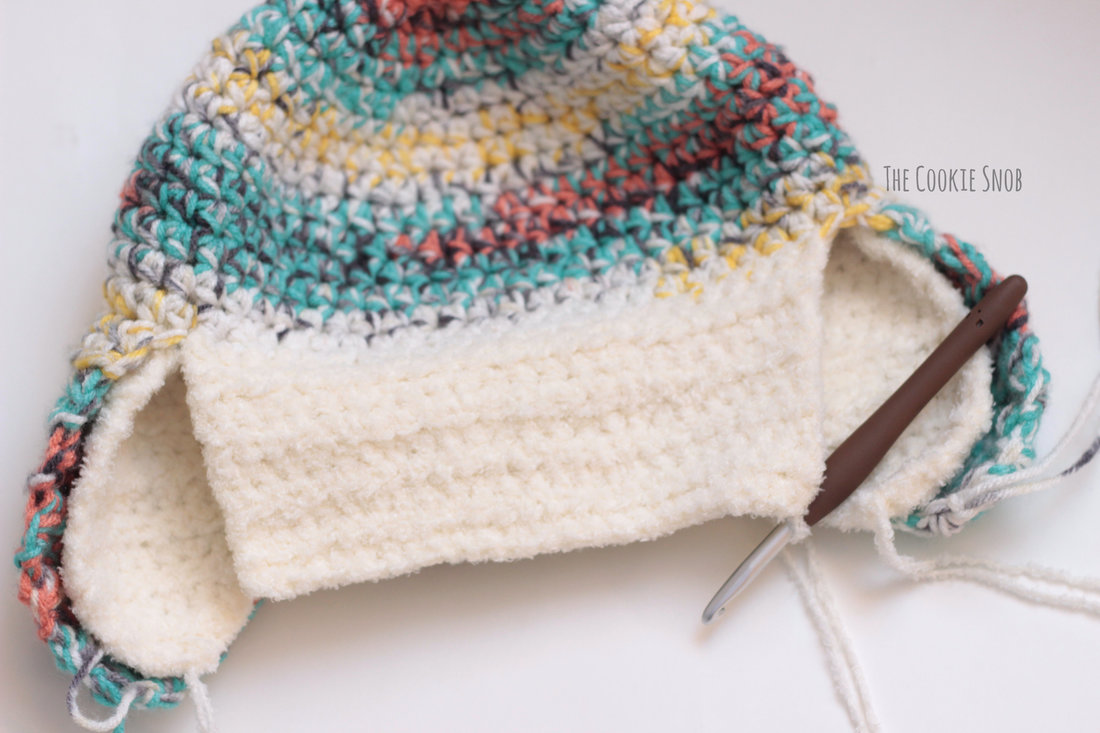
Fasten off.
Now attach the yarn at the opposite end of Row 8 and repeat Rows 9-13 to make the second earflap. Fasten off.
For the fuzzy front flap, join the accent color yarn, held double, to the unworked stitches from Round 18 of the main body of the hat.
Rows 1-13: ch 1, hdc across, turn (26)
OR, for the button version:
Rows 1-11: ch 1, hdc across, turn (26)
Row 12: ch 1, hdc, ch 1, skip the next st, hdc in the next 22 sts, ch 1, sk the next st, hdc in the last st, turn (24 hdc and 2 button holes)
Row 13: ch 1, hdc, hdc in the ch 1 space, hdc in the next 22 sts, hdc in the ch .1 space, hdc in the last st (26)
For the straps (make 2):
Using the main color yarn (one strand only):
Ch 4.
Row 1: hdc in the 2nd ch from the hook and in the next 2 sts, turn (3)
Row 2: ch 1, hdc across, turn (3)
Repeat row 2 until the strap is about 2.5″ long. Fasten off, leaving a long yarn tail.
Finishing:
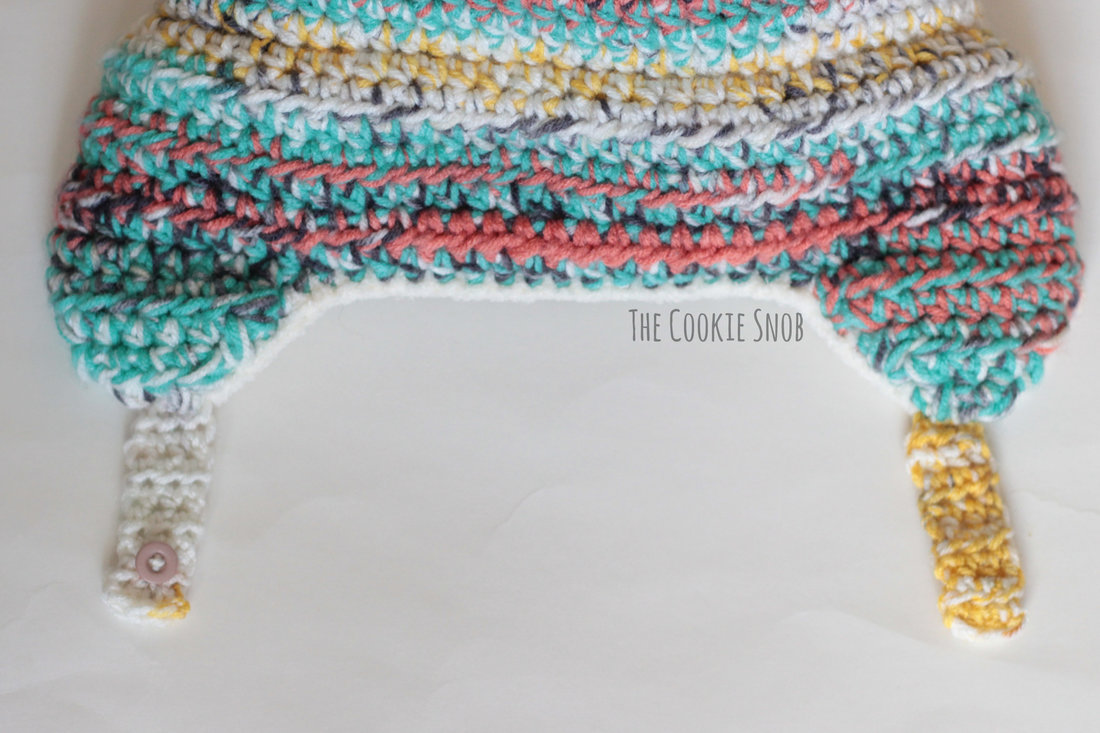
Using the yarn tail, stitch the straps to the bottoms of the earflaps. Stitch the 1/2″ button to the end of one of the straps so that it can be used to fasten them together.
Flip up the front flap. Using the fuzzy accent yarn, stitch around the edges of the flap to join to the main body of the hat. Weave in ends.
OR, for the button version:
Flip up the front flap. Place the 1″ buttons over the buttonholes to help you find the correct placement. Then stitch the buttons to the body of the hat; the buttons will hold the front flap in place.

