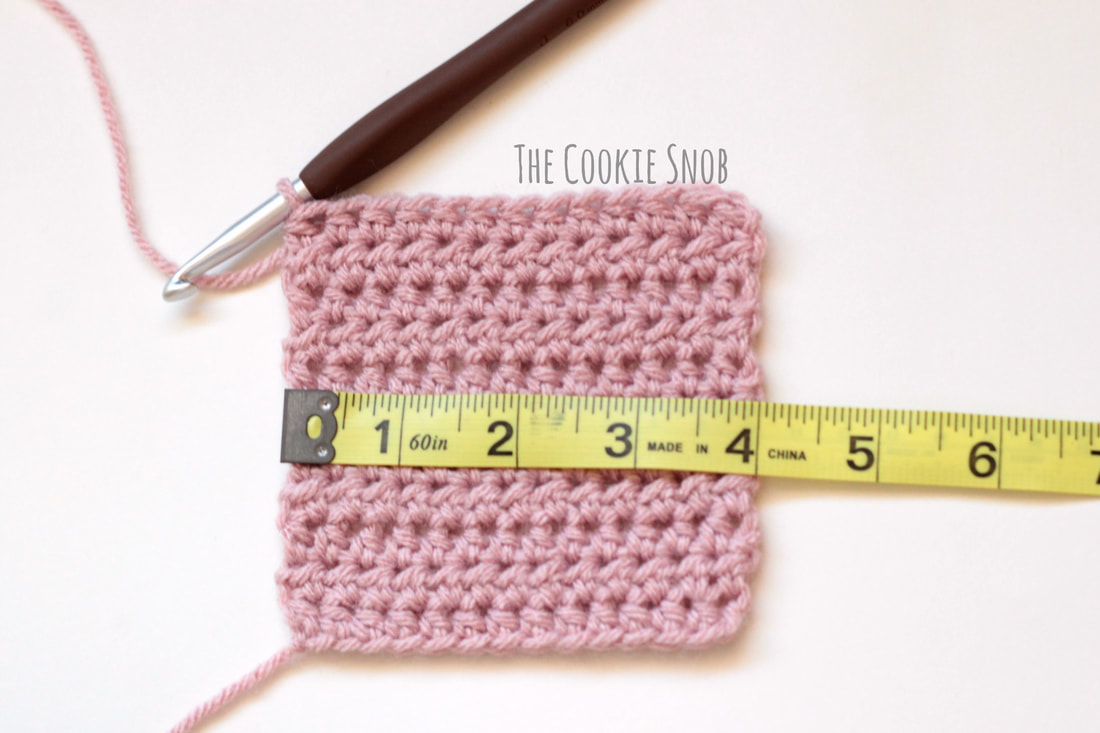
Edit: To help with sizing, I’m including instructions for a simple gauge swatch so that you can compare your stitches to mine. My swatch was made using the J hook and I Love This Yarn! from the original hat.
Gauge Swatch:
Ch. 14
Row 1: hdc in the 2nd ch from the hook and in each st across, turn (13)
Rows 2-11: ch 1, hdc across, turn (13)
You should now have a square that measures 4″ wide and 4″ tall. If yours is smaller, you’ll want to go up a hook size. If your square is larger, you’ll want to consider going down a hook size. However, you don’t want to sacrifice the drape, since this is a slouchy hat, so if your swatch is too large and the stitches look too tight when you manage to get a matching gauge, I would recommend just decreasing the number of stitches in the hat instead (since it’s super easy to do); the last thing you want is a really stiff hat.
Enough talking. Let’s get to hooking!
Materials:
- Less than 1 skein of worsted weight yarn (I used I Love this Yarn! in Rosy Cheeks)
- Size I (5.5mm) crochet hook
- Size J (6.0mm) crochet hook
- Tapestry needle
- Optional: Stitch markers
Stitch Glossary:
st(s) = stitch(es)
ss = slip stitch
ch = chain
sc = single crochet
hdc = half double crochet
dc = double crochet
fpdc = front post double crochet
flo = front loop only
Brim:
Using the smaller (5.5mm) hook:
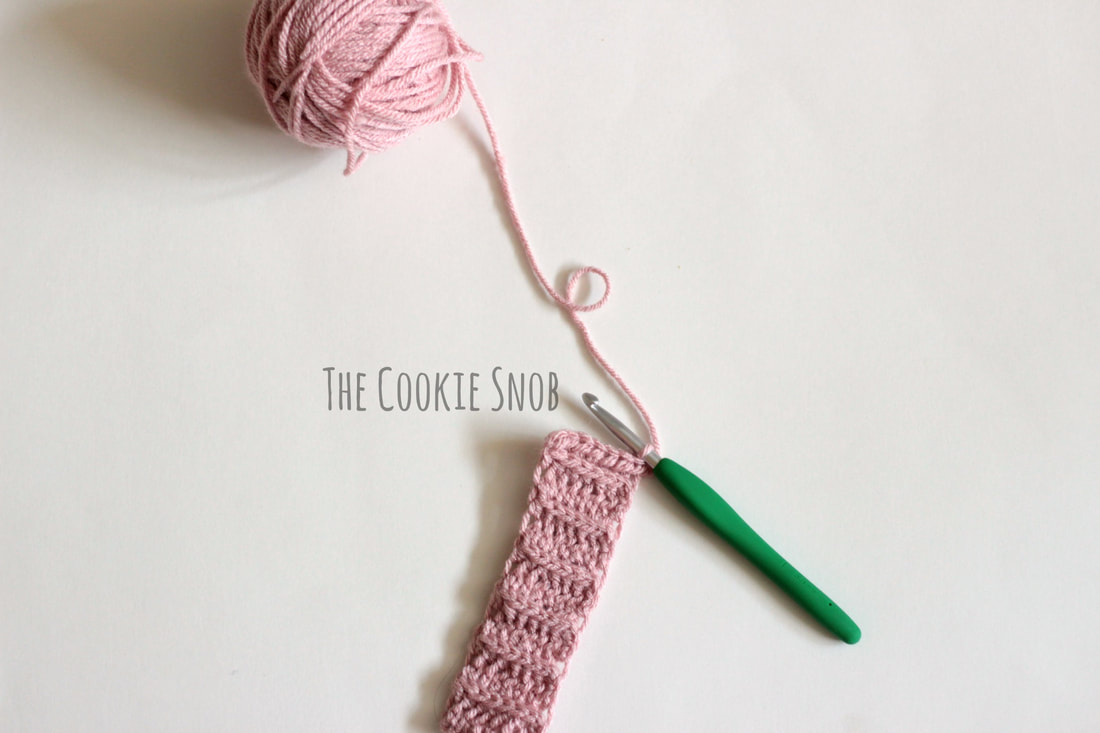
Ch 8
Row 1: hdc in the 2nd ch from the hook and in each st across, turn (7)
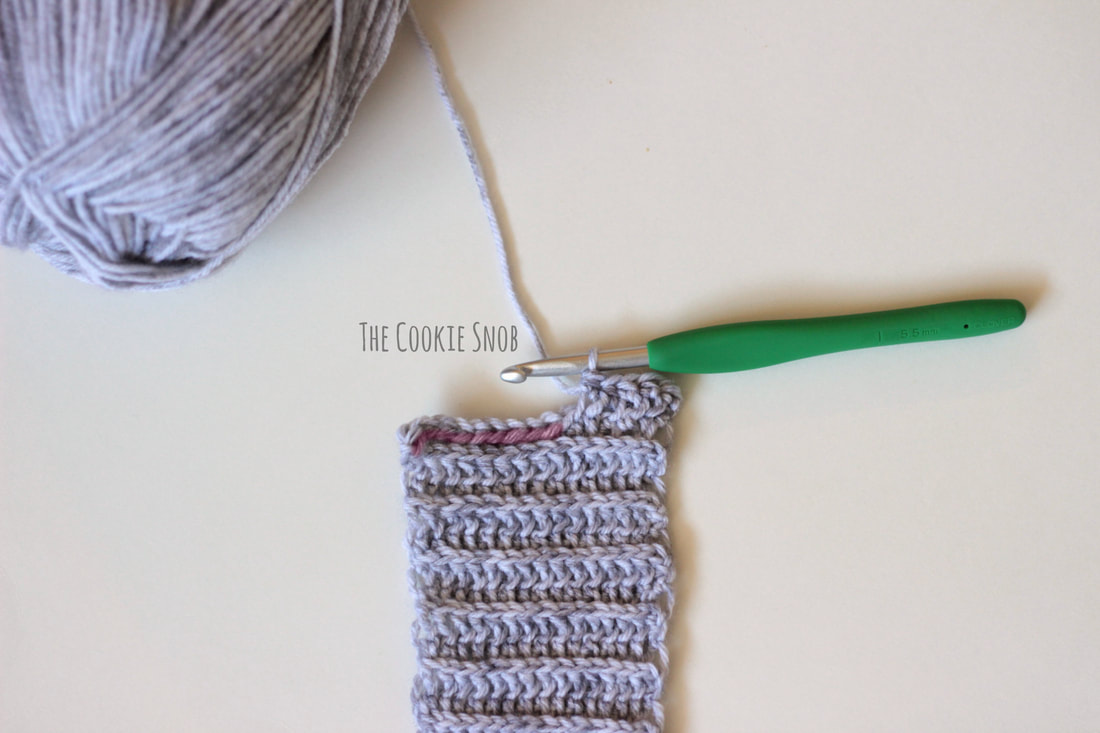
Row 2: ch 1, hdc across in the 3rd loop (see note above), turn (7)
Repeat row 2 until the brim is your desired length. I made mine 22″ when lightly stretched. Make it as long as you need to fit comfortably on your head, but please keep in mind that the brim will stretch a tiny bit with use over time.
Fasten off, leaving a long tail of yarn for sewing. Place the two short ends of the brim together and sew them into a loop with the tapestry needle and the yarn tail. I recommend using the mattress stitch for neatness. I recommend dividing the brim into 4 equal sections using stitch markers at this point to make the next step easier, but it’s not required.
Body of the hat:
Using the larger (6.0mm) hook:
Round 1: Work 84 sc evenly across the top of the brim, with the right side facing out. If you’ve divided your brim into 4 sections, you can evenly work 21 sc into each section (or you can just eyeball it if that works better for you). Join to the first sc with a ss. (84) Or, if you want to make the circumference of the hat larger, you can increase the number of stitches over the top of the brim (just be sure that it’s an even number of stitches).
Rounds 2-3: ch 1, sc across, ss to join (84)
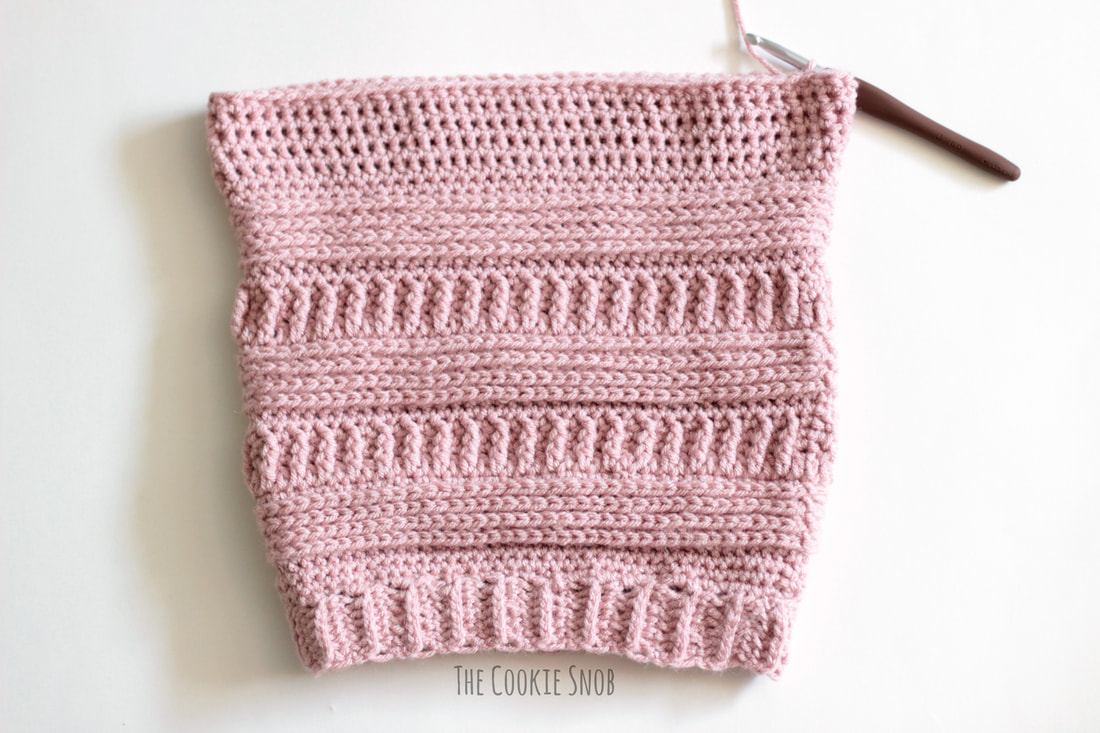
Round 4: ch 1, hdc across in flo, ss to join (84)
Rounds 5-7: ch 1, hdc across in 3rd loop, ss to join (84)
Round 8: ch 1, sc across in 3rd loop, ss to join (84)
Round 9: ch 2, dc across, ss to join (84)
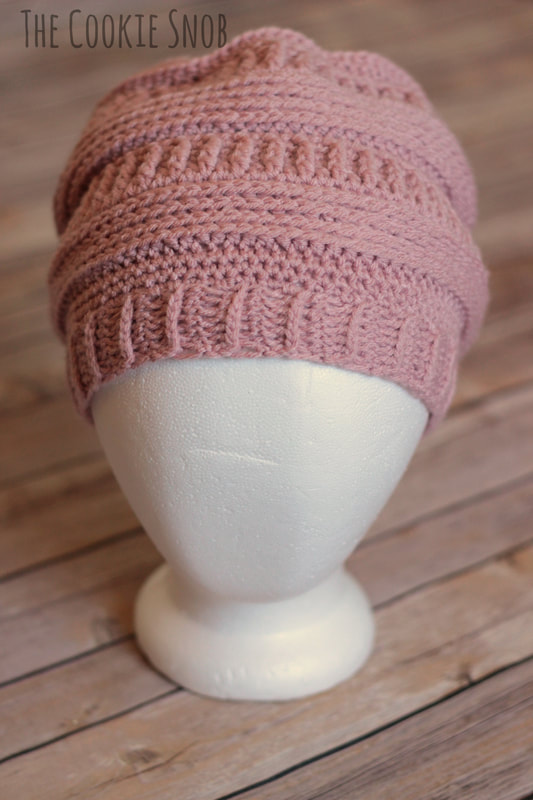
Round 10: ch 1, [sc, fpdc] around, ss to join (84)
Round 11: ch 1, sc around, ss to join (84)
Round 12: ch 1, [sc, fpdc] around, ss to join (84)
Note: The fpdc from round 12 should be worked into the fpdc from round 10
Round 13: ch 1, sc around, ss to join (84)
Rounds 14-23: Repeat rounds 4-13
Rounds 24-28: Repeat rounds 4-8
Round 29: ch 1, sc around, ss to join (84)
Rounds 30-34: ch 1, hdc around, ss to join (84)
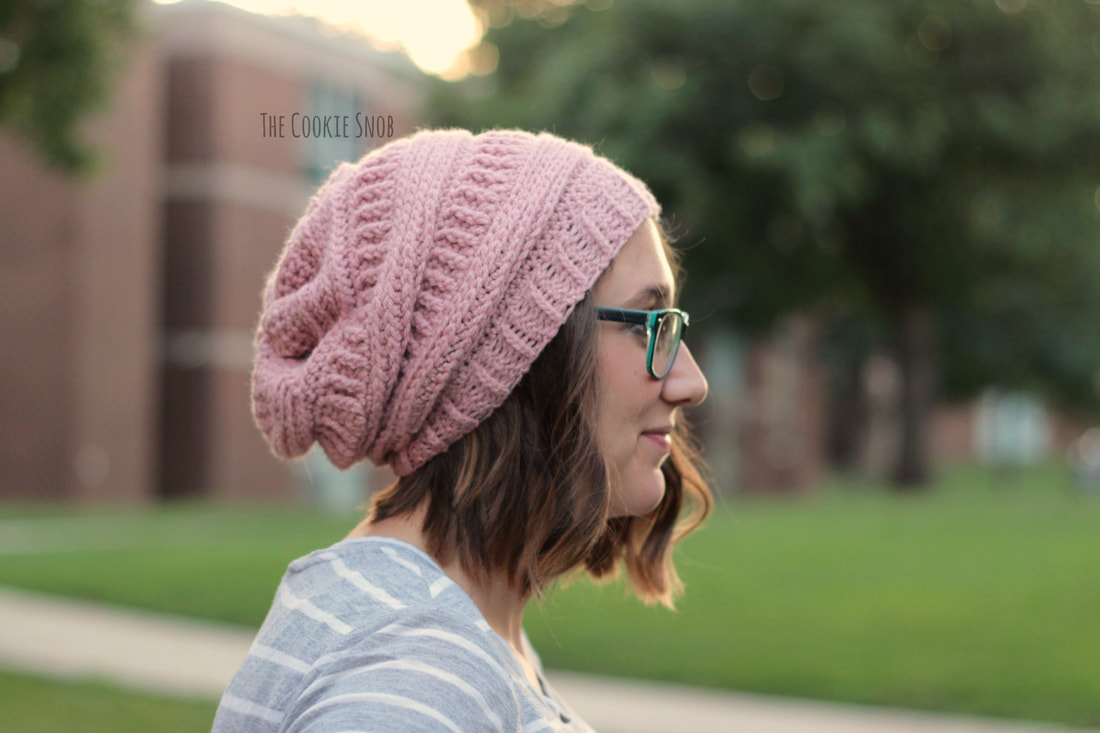
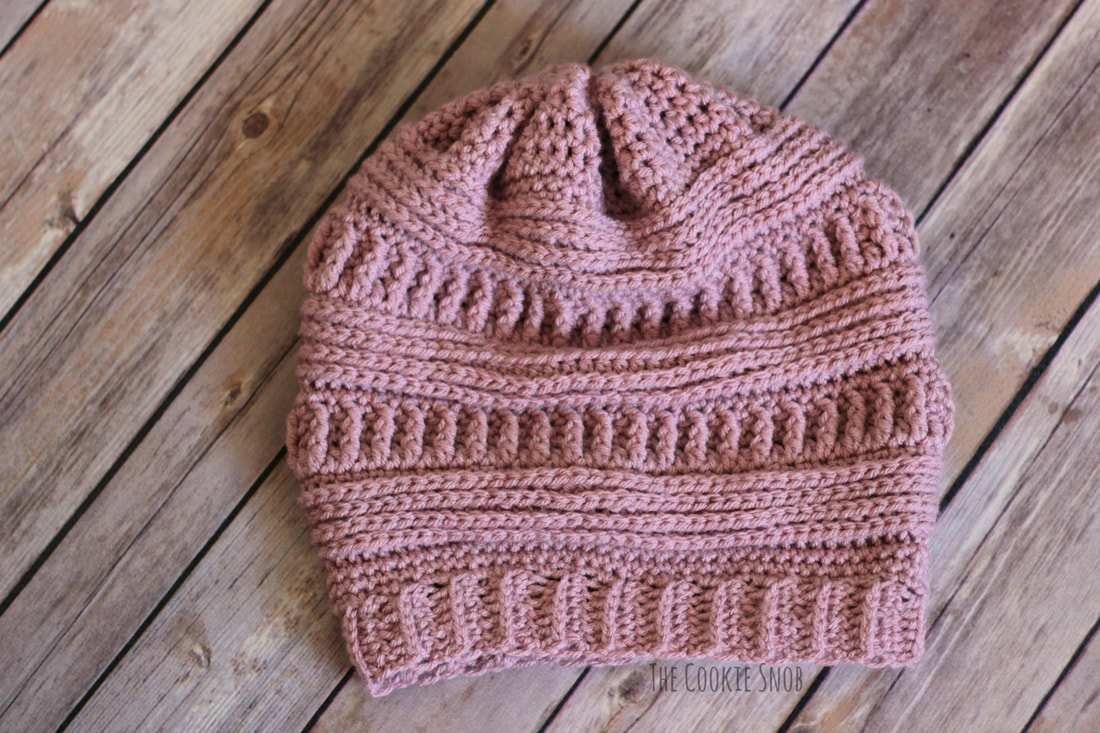
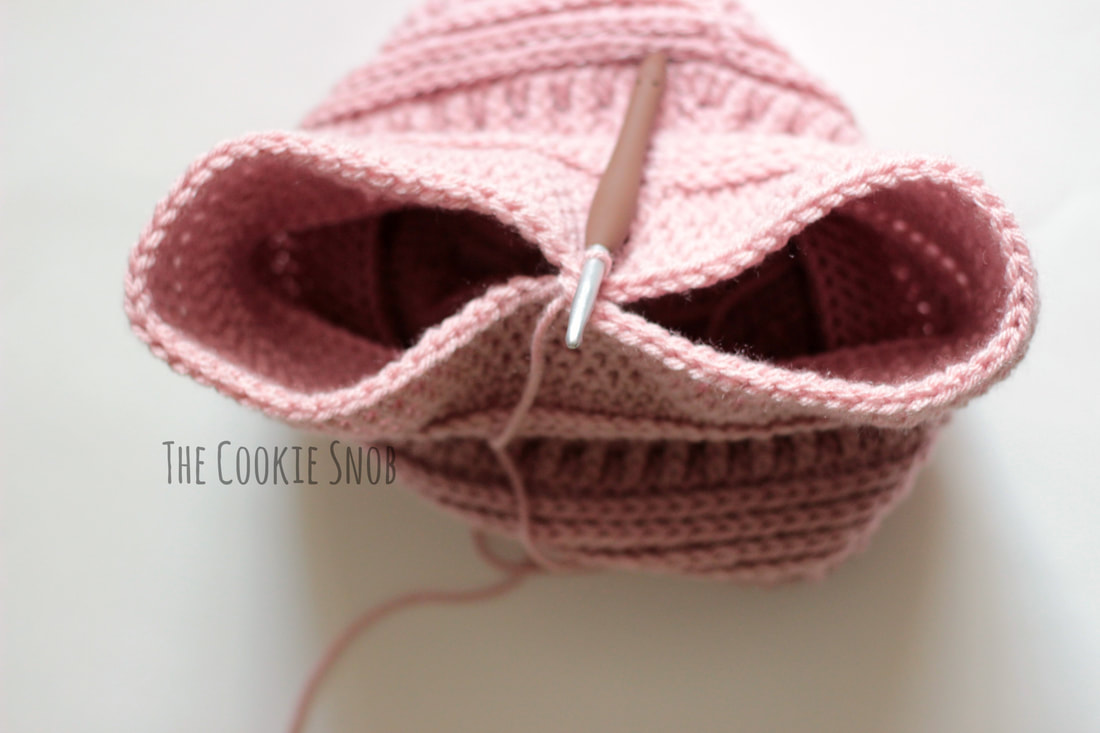
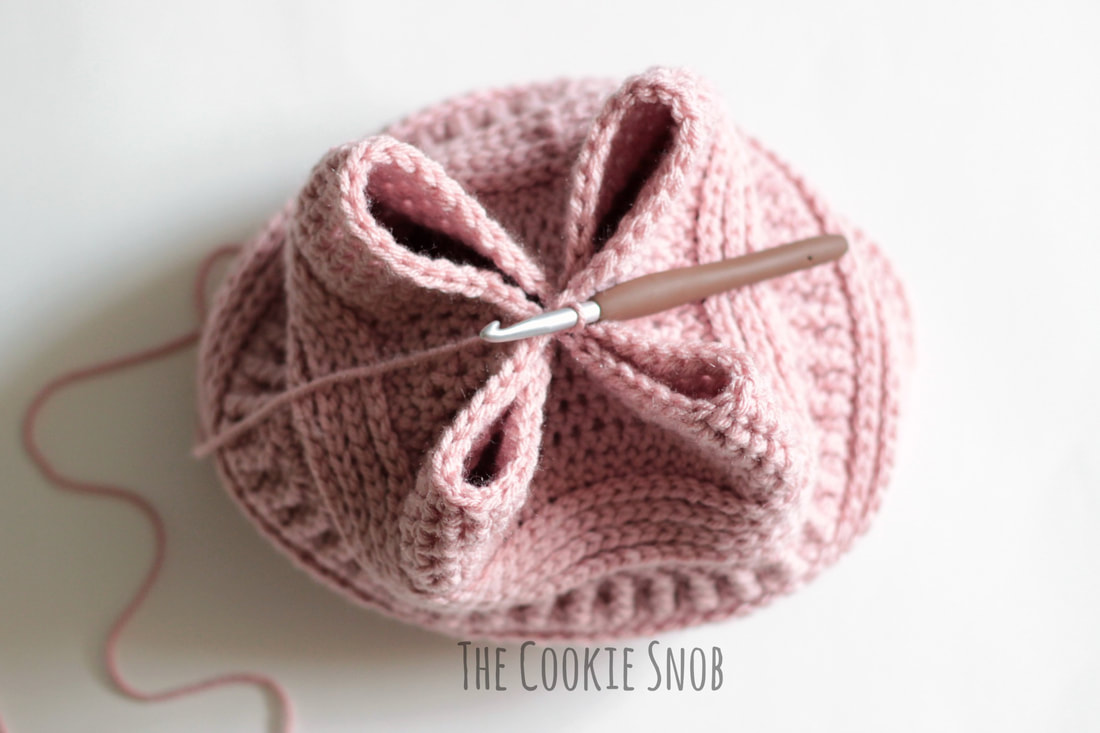
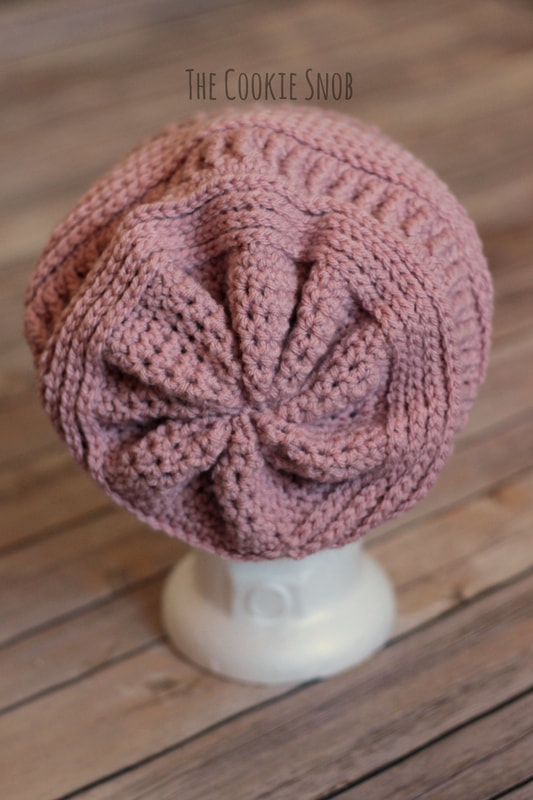
*Note: the hdc rows here will cause the top of the hat to splay out a bit at the top, as shown in the picture. This won’t be visible at all when you close up the hat, but if it bothers you, you can easily use sc here instead. Just keep adding sc rows until your hat measures about 10″ from the brim to the top (although this may make the top a tiny bit stiffer, depending on how tightly you crochet)*
Ss into the center point of each “arm.” Continue to ss into the opposite ends of loops formed until the top of the hat is closed. Or, alternatively, you can thread a long piece of yarn back and forth through the top round of the hat and then pull taut to close.
Fasten off and weave in any remaining ends.

