
Materials:
- Yarn in five different colors;
- Crochet hook according to the yarn weight you are using (I used a 3.25 mm);
- Stitch markers;
- Pins;
- Polyester fiber;
- Scissors;
- Tapestry needle;
- Embroidery floss;
- Tiny buttons and jingle bells;
- Hot glue and hot glue gun (or any other glue that works for fabrics);
- Blush (for makeup);
- Small brush (for makeup) or cotton swab.
Abbreviations:
- inc – increase
- dec – invisible decrease
- ch – chain
- sl st – slip stitch
- sc – single crochet
- mr – magic ring
- hdc – half double crochet
- ( ) total number of stitches at the end of each round
Body/Head:
Use the color chosen to crochet the body. Stuff the body using polyester fiber. Continue stuffing while crocheting until the end. Stuff it very well. Ch 9.
- in the second ch from hook: 7 sc, 3 sc in the last ch. On the other side: 6 sc, 1 inc (18)
- 1 inc, 6 sc, 3 inc, 6 sc, 2 inc (24)
- 1 sc, 1 inc, 6 sc, [1 sc, 1 inc] x3, 6 sc, [1 sc, 1 inc] x2 (30) 4 to 7) sc around (30)
- [8 sc, 1 dec] x3 (27)
- sc around (27)
- [7 sc, 1 dec] x3 (24)
- sc around (24)
- [2 sc, 1 dec] x6 (18)
- sc around (18)
- [1 sc, 1 dec] x6 (12)
- sc around (12)
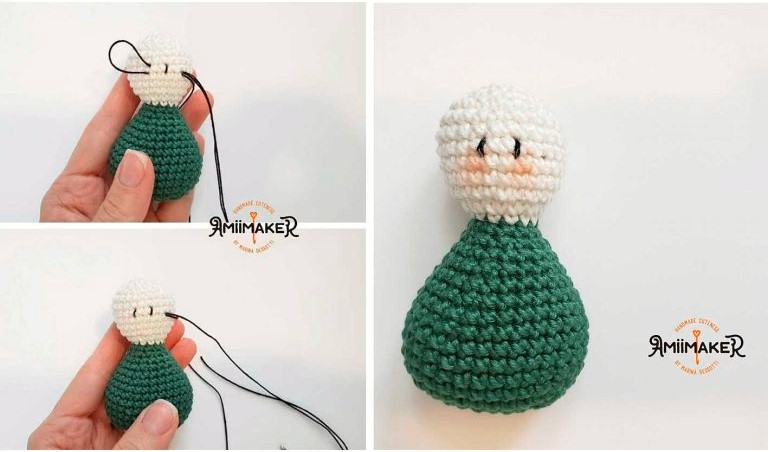
Change to the color chosen for the head. Keep stuffing firmly. 16) sc around (12) 17) 12 inc (24) 18 to 23) sc around (24) 24) [2 sc, 1 dec] x6 (18) 25) [1 sc, 1 dec] x6 (12) 26) 6 dec (6)
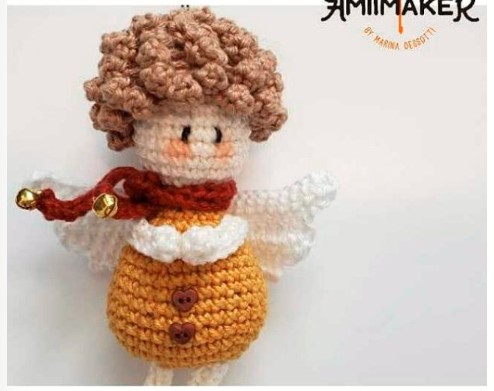
Close the hole and fasten off. Using the tapestry needle, embroider the eyes at the 21st round, leaving 2 (two) stitches between them (pictures below). Use some makeup.
Hair:
Use the color chosen to crochet the hair. Attention 1: from the second round, sc in the back loops only (BLO). Attention 2: don’t crochet too tight or use a bigger hook. But be careful so your wig doesn’t turn out too big. It must be tightly attached to the head.
- 6 sc in the mr (6)
- 6 inc (12) (BLO)
- [1 sc, 1 inc] x6 (18) (BLO)
- [2 sc, 1 inc] x6 (24) (BLO) 5 to 8) sc around (24) (BLO)
Fasten off. You can leave a long thread to sew it to the head later. Or you can glue it to the head after finishing the curls.
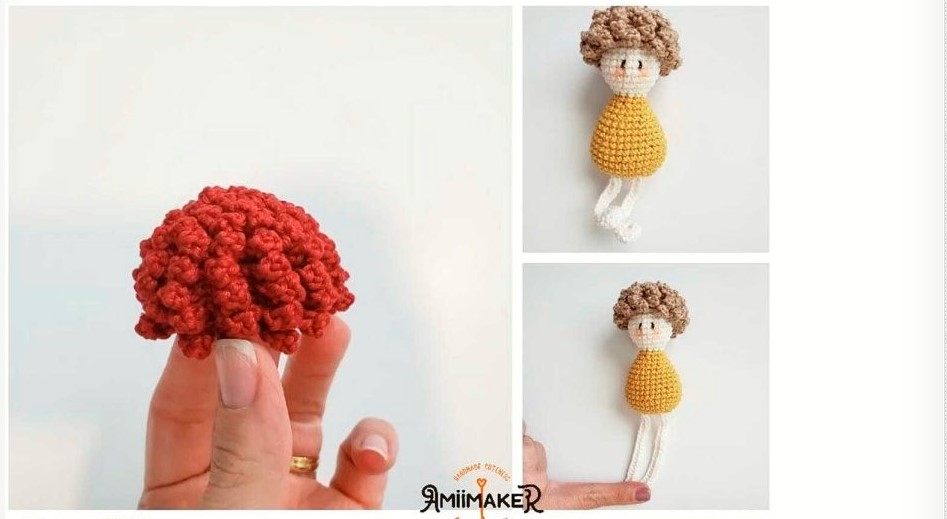
Curls:
Keep using the color chosen to crochet the hair. Using the front loops left before, attach the yarn with a sl st to the first loop made in the second round, in the top of the hair. Then crochet this sequence until the end of the wig:
- ch 4, starting at the second ch from the hook, sc 3 until you get to the base again. Then sl st in the next loop, sl st again in the other loop, and in this same loop ch 4. Again sc 3 until you get to the base.
Then sl st in the next loop, sl st again in the other loop, and in this same loop ch 4… Keeping doing this until the end. There is a tutorial video on my IGTV showing how to make the curls. It is in Portuguese, but I believe it is pretty visual and easy to understand. Note: I crochet curls until the very end of the wig. Fasten off. Sew or glue the hair to your angel head.
Legs:
Use the color chosen to crochet the legs. Make 2. Ch 25. From the second ch from hook, sc 24. Fasten off leaving a long thread. Sew the legs to the bottom of the angel body, leaving 3 stitches between them. You can make little feet by curling the tips of the legs and gluing them with hot glue. You can also glue one leg over the other so they can be crossed, or you can leave them free.
Arms:
Use the color chosen to crochet the arms. Make 2. Ch 13. From the second ch from hook, sc 12. Fasten off leaving a long thread. Sew them to the side of the body (round 13). Join the hands by gluing them together. I also glued the arms to the body (close to the hands) so they wouldn’t be swaying. See the pictures below.
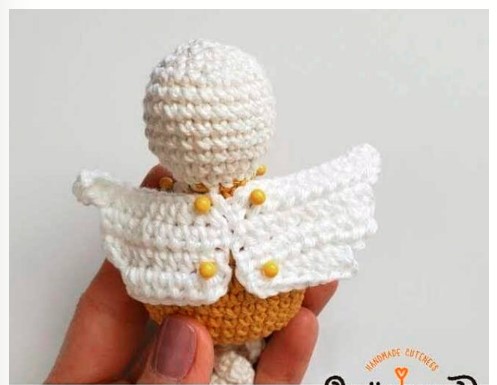
Wings:
Use the color chosen to crochet the wings. Make 2. Ch 13. From the second ch from hook:
- 12 hdc, ch 1, turn (12)
- 9 hdc, ch 1, turn (9)
- 9 hdc, ch 1, turn (9)
- 7 hdc (7) Fasten off. You can leave a long thread to sew or simply glue them to the body.
Scarf:
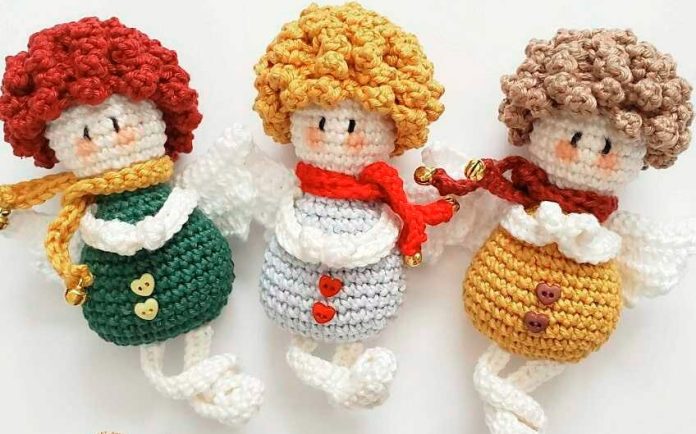
Use the color chosen to crochet the scarf. Ch 42. From the second ch from hook, sc 41. Fasten off. Tie it around your little angel neck. Garnish your little angel as you prefer. The idea is to make it look like a Christmas tree ornament! In my case, I sewed two tiny heart buttons on the belly and put jingle bells at the end of the scarf to make some noise! See the pictures below.


